The Mini Color TFT with Joystick FeatherWing is a fun piece of hardware. In addition to a miniature TFT display, it also has a Joystick and two buttons. This could be used to make a miniature gaming system, MP3 Player and much more. If you would like more information on this display, be sure to check out our Adafruit Mini TFT with Joystick FeatherWing guide. To use this display with displayio, you will need at least two main parts. First, you will need the TFT FeatherWing itself.

And second, you will need a Feather such as theFeather M0 Express or the Feather M4 Express. We recommend the Feather M4 Express because it's much faster and works better for driving a display.

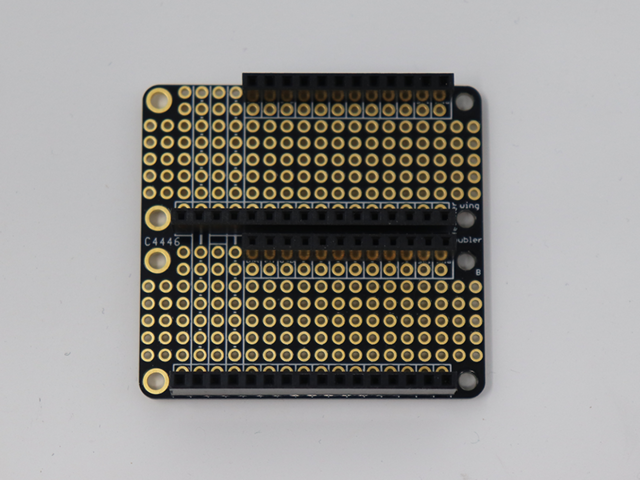
To connect the two, you have several options. One of the easiest ways is with the Doubler or Tripler which allows you to insert both items side-by-side. You can find out more about these including assembly information in our FeatherWing Proto, Doubler and Tripler guide. If you do decide to go with the doubler, be aware that it comes with one set of female headers and one of the set of stacking header, so you may want to order an extra set of female headers with it or you could just trim off the extra pins with some flush cutters.


And finally, if you would like to go with a small profile, you could just go with either a set of female headers or stacking headers. In this guide we decided to just use a doubler with the extra female headers. Let's start by assembling the pieces.


Required CircuitPython Libraries
Since this is no ordinary display and has some additional controls, we have written a special module for out FeatherWing Helper library that not only initializes the display for us, it also initializes the joystick and buttons. You will need the following libraries.
First, make sure you are running the latest version of Adafruit CircuitPython for your board.
Next, you'll need to install the necessary libraries to use the hardware--carefully follow the steps to find and install these libraries from Adafruit's CircuitPython library bundle. Our introduction guide has a great page on how to install the library bundle for both express and non-express boards.
Remember for non-express boards, you'll need to manually install the necessary libraries from the bundle:
- adafruit_st7735r
- adafruit_featherwing
- adafruit_seesaw
- adafruit_bus_device
Before continuing make sure your board's lib folder or root filesystem has the adafruit_st7735r, adafruit_featherwing, adafruit_seesaw and adafruit_bus_device files and folders copied over.
# SPDX-FileCopyrightText: 2021 ladyada for Adafruit Industries
# SPDX-License-Identifier: MIT

"""
This example display a CircuitPython console and
print which button that is being pressed if any
"""
import time
from adafruit_featherwing import minitft_featherwing

minitft = minitft_featherwing.MiniTFTFeatherWing()

while True:
    buttons = minitft.buttons

    if buttons.right:
        print("Button RIGHT!")

    if buttons.down:
        print("Button DOWN!")

    if buttons.left:
        print("Button LEFT!")

    if buttons.up:
        print("Button UP!")

    if buttons.select:
        print("Button SELECT!")

    if buttons.a:
        print("Button A!")

    if buttons.b:
        print("Button B!")

    time.sleep(0.001)
The first thing you might notice about this library is that compared to the other simpletests, it's quite small. Let's go through it a little at a time. First we start with the importing time so we can include a small delay at the end as well as the minitft_featherwing library itself.
import time
from adafruit_featherwing import minitft_featherwing
Next we initialize the library and leave all the defaults. The FeatherWing allows you to change the DC and CS pins as well as change the address in case you have multiple displays. If you have changed either of these, you can pass the overriding values as parameters when initializing the library.
minitft = minitft_featherwing.MiniTFTFeatherWing()
In the main loop we save the current state of all the buttons into a variable called buttons. From there we check if each button is True and print out a message.
while True:
    buttons = minitft.buttons

    if buttons.right:
        print("Button RIGHT!")

    if buttons.down:
        print("Button DOWN!")

    if buttons.left:
        print("Button LEFT!")

    if buttons.up:
        print("Button UP!")

    if buttons.select:
        print("Button SELECT!")

    if buttons.a:
        print("Button A!")

    if buttons.b:
        print("Button B!")

    time.sleep(.001)
Go ahead and run the program and try pushing some of the buttons. It displays what you pushed right on the display.

Where to go from here
Be sure to check out this excellent guide to CircuitPython Display Support Using displayio


