As turkey-texture, this guide uses an image of autumn leaves, but really any fall-related image makes a good backdrop for the turkey. You can alternatively trace an adult hand and color in using pencil or crayon.
Print your preferred image and glue it to a piece of scrap cardboard, or use the same autumn leaves, linked below.
Once your glue has taken hold, we're ready to start carving our bird.
Hand Tracing
Once you've glued your image to a piece of cardboard, flip it over and trace your hand on the back.
Cut out this tracing with scissors or a hobby knife.
Turkey Face
Cut a small triangle from the leftover scrap cardboard. This piece will become the turkey's beak.
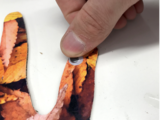
Glue on eye and beak. A small piece of paper can help affix the beak in place.
Motor Mount
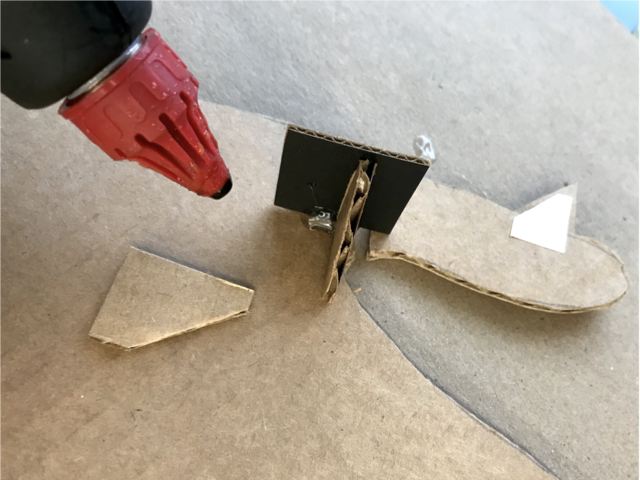
Use hot glue to attach a small square of cardboard to the back of the hand.
A thin rectangle of cardboard can be used to expand the servo arm, making it easier to attach things to.
Stick servo motor to the motor mount using double sided tape or glue.
Re-attach the Head
Tape the turkey head onto servo arm using a small rectangle of double sided tape.
Create the Base
Cut out a rectangle of cardboard to serve as a platform on which to mount the turkey.
Using your CRICKIT board as a gauge, mark two lines where the cardboard will fold.
Glue a strip of cardboard between the two folded sections, holding them at 90 degrees.
Now that the physical structure is together, it's time to incorporate the CRICKIT and connect everything.
The circuit diagram below shows the connections that need to be made.
Connect CRICKIT
Cut a hole in the middle of the base. This will allow the servo motor cable to connect to CRICKIT.
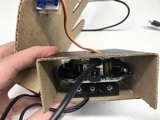
Stick CRICKIT inside the base, feed the servo motor cable through a hole and connect it to the servo pins (lightest color wire facing in).


