
6600mAh Lithium Ion Battery
Newer batteries will include a JST cable with male connector already soldered to the battery. The length of the cable included is enough to reach the power charing circuit in this project.


Prep Battery JST
If you happen to have an older 6600mAh battery, the battery may not have a JST connector already attached. In this case, the 6600mAh battery will include a male JST cable. Strip and tin the ends on both sets of wires. Add pieces of heat shrink tubing and solder the matching wires together - Negative(black) to negative, positive(red) to positive.

Install PowerBoost 500C Screws
Fasten two #4-40 3/8 to the bottom part of the enclosure near the bottom with the cut out in the center. This is where the microUSB port of the PowerBoost 500C will be.

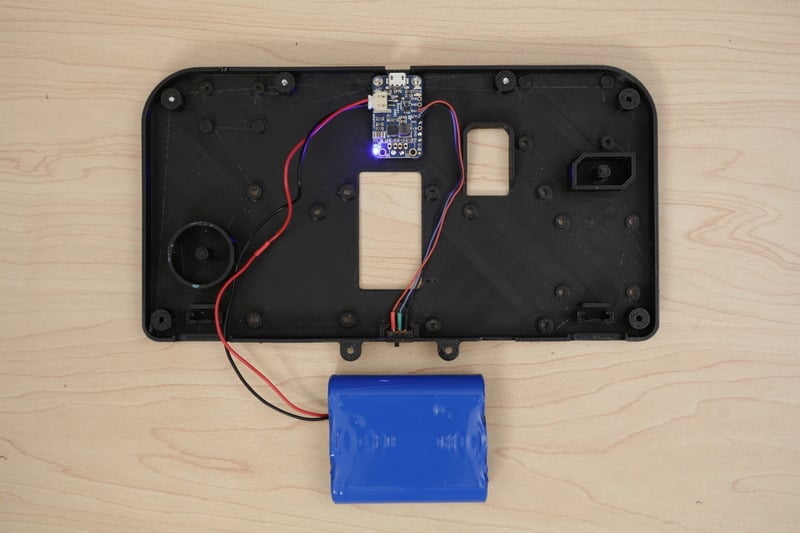
Mount PowerBoost500C
Place the PowerBoost500C on to the lower center area of back.stl part with the micro USB port facing the cutout.
Line up the mounting holes to the stand-offs and hold the PCB to the enclosure with one hand. With the other hand, fasten two #4-40 3/8 flat Phillips machine screws to the mounting holes untl it's fully flush with the surface of the enclosure.


Prep Slide Switch
Place slide switch near the top center of the bottom enclosure part - There's an opening with clips for housing the slide switch.
Measure the length of wire needed for connecting the slide switch to the PowerBoost 500C. Cut three pieces of 30AWG stranded wire and strip the ends with wire cutters. Tin each wire.
Secure slide switch to helping third hand. Solder wires to each terminal on slide switch. Insert pieces of heat shrink tubing to each wire and heat to seal connections.

Install Slide Switch
With wires solder to slide switch, install the switch into the bottom enclosure part by fitting it through the cut out with wires in first.

Connect Switch to PowerBoost500C
Solder wires from slide switch to BAT, EN and GND pins on the PowerBoost 500C.
Power Test
Plug in the JST connector from the 6600mAh lithium polymer battery to the JST port on the PowerBoost 500C.
Turn the slide switch on to test the PowerBoost 500C. The blue LED should light up indicating a charged battery - Red LED means the battery needs to be charged.
If no LED's turn on, double check your wiring.
With the PowerBoost 500C tested and working, turn it off and unplug the JST and set the battery aside.


