Testing & Pairing & Remapping
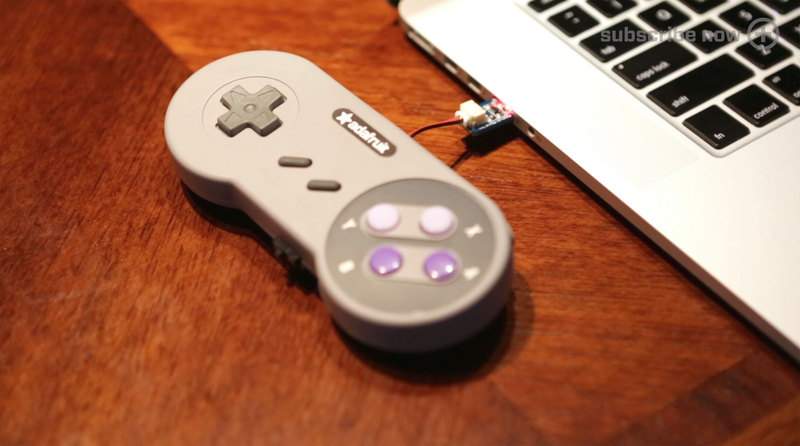
That's it, before you close the case up, its good to do some testing (in case a wire is not soldered right, etc) Now is a good time to pair the Bluefruit to your computer and then test each button to make sure you're getting the key press you expect.
If you want to use it with a program that doesn't allow you to set the keys to the default Bluefruit keys, you can use the wireless remapping software to change the keys from the default to whatever key-presses you want

Put it Together
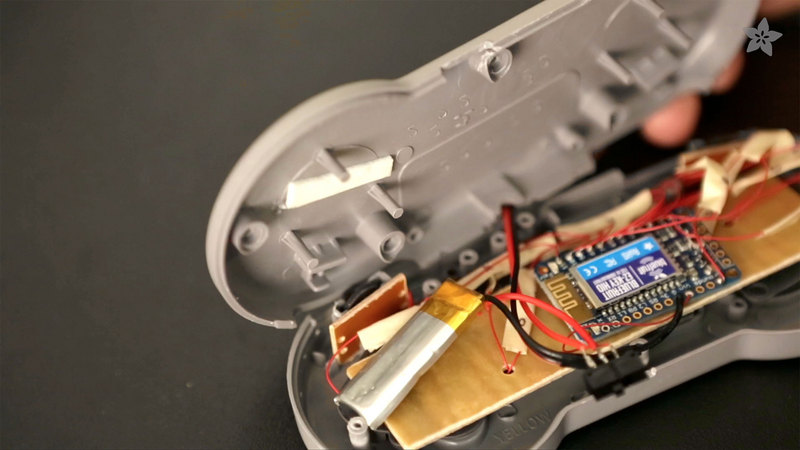
Lay down the front of the cover with the buttons facing down on a table. Now you can carefully place the PCB down into the cover. The EZ-Key bluefruit will reside on the back of the PCB, facing right-side up in the center of the PCB. The JST wire connection will need to be placed in place of the original cable, the USB charger will hang out of this cavity so you can easily access the USB port to recharge the battery.The lithium battery can be placed to the left of the bluefuit and mounted to the back cover with a piece of double-sided foam tape. Carefully place the switch inside of the cut out we made earlier and let it stick out a little so you can reach it. Now you can gently close the back cover, make sure to tuck and excess labels or wires inside of the enclosure. Place the Phillip screws back in and tighten it shut!
3D Printed Holster
You can optionally 3d print a part to holster the usb battery charger from http://www.thingiverse.com/thing:185253The part can be mounted to the back of the controller with a piece of double-sided foam tape. The holster is small and takes under ten minutes to print out. The holster nicely holds the USB micro lipo charger in piece.