reef-pi requires a Raspberry Pi running Raspbian or Noobs. Adafruit already has guides on Preparing SD card, First-time configuration, Network and SSH setup. We'll not repeat those, if you are not familiar with Raspberry Pi, use those guides in exact order to get a working Raspberry Pi with latest Raspbian installed and network configured.
It's always recommended you update Raspbian before installing reef-pi. We'll also enable network time to keep Raspberry Pi time up to date from the Internet.
sudo apt-get update -y
sudo apt-get upgrade -y
sudo systemctl start systemd-timesyncd
sudo systemctl enable systemd-timesyncd
reef-pi uses Raspberry Pi's hardware timers for PWM (used for LED dimming, DC motor control etc.). This allows reef-pi to use up to two PWM channels without any ancillary electronics. This feature is only available in newer Linux kernels (4.9 and above). We have to edit /boot/config.txt file and add this line at the end to enable (then reboot)
dtoverlay=pwm-2chan
reef-pi uses a DS18B20 temperature sensor, which requires the one wire protocol to be enabled in the Linux kernel. reef-pi also uses I2C communications protocol for some features. We'll use the raspi-config tool from terminal for enabling both one wire and I2C.
sudo raspi-config


Update Hostname
You can use the raspi-config tool to rename Raspberry Pi to something else. For example, I named one of my reef-pi controllers as biocube29 (the name of the tank). Doing so allows accessing the reef-pi web UI as http://biocube29.local from other devices in the same network.
Disable SPI
reef-pi does not uses SPI, and disabling it will allow reusing the SPI pins as normal GPIO. The raspi-config utility can be used for this as well (disabling SPI).
Reboot and Install reef-pi!
Finally, we're ready to install the software.
sudo reboot the pi to make all the changes active
Next, download the latest release of reef-pi and install it.
wget -c https://github.com/reef-pi/reef-pi/releases/download/4.3/reef-pi-4.3-pi0.deb

sudo dpkg -i reef-pi-4.3-pi0.deb
That's it! reef-pi should be installed and running, you should be able to access the reef-pi UI by visiting the Raspberry Pi IP (or hostname.local, if you have set a hostname) in your browser. You'll get this login prompt:

Enter reef-pi as both username and password and click "Sign In". This is the default credentials reef-pi ships with. You will then redirected to the main dashboard:

The error message at the top is benign and expected, and an indicator of a fresh install (if you are curious, the error is about missing data for charting, since there is no data yet). Notice the footer information, it reflects the controller name, current time, reef-pi version, uptime, IP and any error.
Next, let's customize the reef-pi installation for our specific use. For this, head over to the configuration tab and change the controller name from reef-pi to adafruit-test and click on the update button to save the setting.

Once the name is updated, head to the Admin section and hit reload.
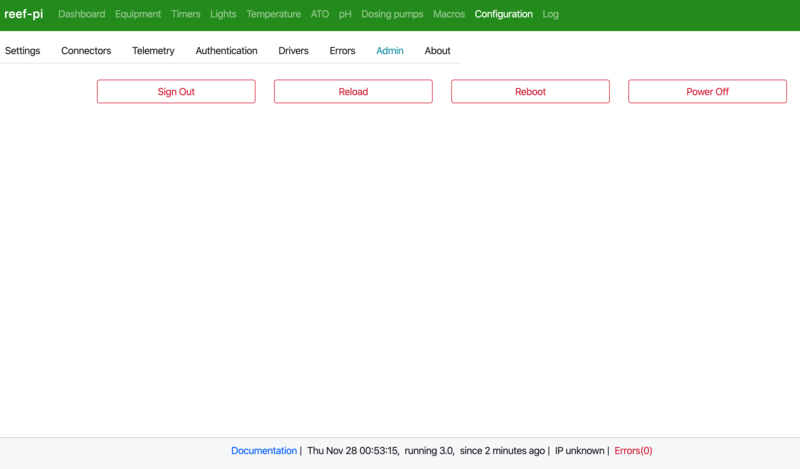
This will restart the reef-pi program. Refresh your browser and you should see the name change in in the UI

At this point, reef-pi is up running and responding, nice work!
We will next take a brief look at the UI and modules in general and test some of them using simple LEDs.


