
3D Printed Parts
The mechanism is comprised of 3D printed parts that are bolted together. Parts are layers together to form the tracks. Each part is listed with a description of what they do. Parts with mounting holes will need to be tapped with M3 threads using a screw tap.
rpb-base.stl |
Base plate contains slot for pinion and mounting holes. |
rpb-rack.stl |
Toothed track for the wheel. Features eye sockets. |
rpb-motor-rack.stl |
Features slot for motor housing. |
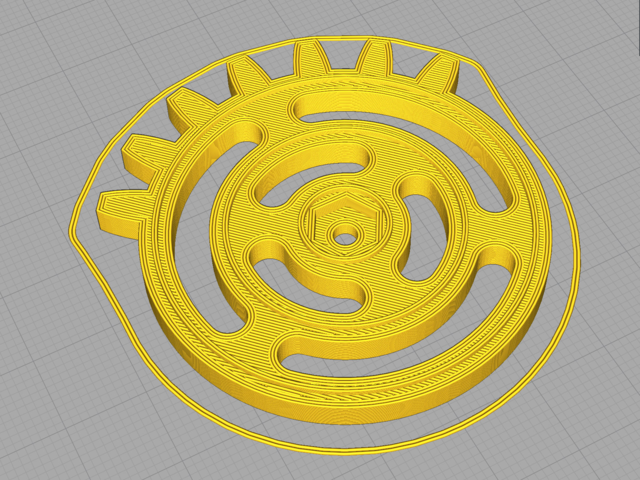
rpb-wheel.stl |
Geared wheel with seven teeth. Attaches to center pin with screw. |
rpb-stand.stl |
Symmetrical foot stand. Print two of these. |
rpb-pin.stl |
Pin is secured to the drive hub. |
rpb-motor-hub.stl |
Drive hub is press fitted into motor shaft. |
rpb-motor-box.stl |
Housing for TT Motor. Slides along motor track. |

Filaments
The material used in this printed are 2.85mm PLA from Melt Ink 3D. The colors are the neon blue, magenta pink, aqua, orange, light green and yellow. This filament diameter is typically used for Ultimaker and Lulzbot 3D printers.
CURA Slicing
This project was sliced using Ultimaker's CURA. Use the slice settings as reference. Settings may need to be adjust for tolerances. Print parts independently for best results. Test fit parts before full assembly. Parts tested with PLA filament using Ultimaker 3.
- 0.4mm nozzle for standard quality
- 0.2mm layer height
- 0.38mm line width / 2 wall line count
- 60mm/s printing speeds
Download STLs
You'll need an STL file to 3D print the mount for the circuit playground express. Click the button below to download the STL from your choice of repo site.
Design Source Files
The enclosure assembly was designed in Fusion 360. This can be downloaded in different formats like STEP, SAT and more. Electronic components like the board, displays, connectors and more can be downloaded from our Fusion 360 CAD parts github repo.
CAD Assembly
We designed the mechanism in Autodesk Fusion 360. The assembly is made up of components that are parametrically driven. This CAD animation demonstrates how all the pieces fit together. The design source is free download so you can build your own, links are in the description.

CRICKIT Mount
The mount for the CRICKIT was designed in a previous project. It's a general, multi-purpose mount designed to house the CRICKIT PCB with M3 machine screws. Check out the learn guide for the files, assembly info and more. Download Mount for CRICKIT
What If I Don't Have A 3D Printer?
Not to worry! You can use a 3D printing service such as 3DHubs or MakeXYZ to have a local 3D printer operator 3D print and ship you parts to you. This is a great way to get your parts 3D printed by local makers. You could also try checking out your local Library or search for a Maker Space.


