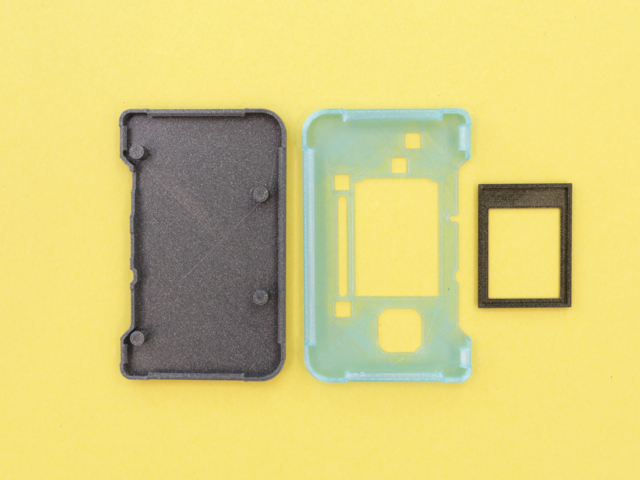
Snap Fit Enclosure
This enclosure is designed to secure the PyGamer PCB without any hardware screws. The PCB rests on bottom half with built-in standoffs. The top half features cutouts for the thumb stick, buttons and display. The two halves snap fit together and clamp shut. Features on the edges of the snap allow the case to firmly stay shut but also allow it to re-open.
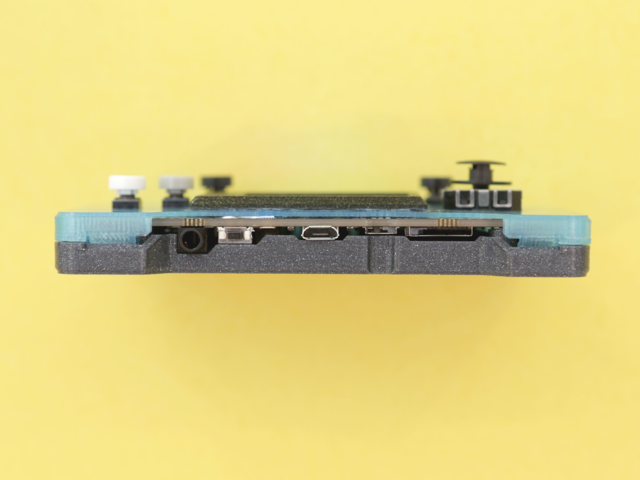
Accessible Ports
The case features a notch near the top to allow access to the various ports on the PyGamer. There's access to the following ports.
- MicroUSB port
- MicroSD card slot
- Reset button
- Audio jack
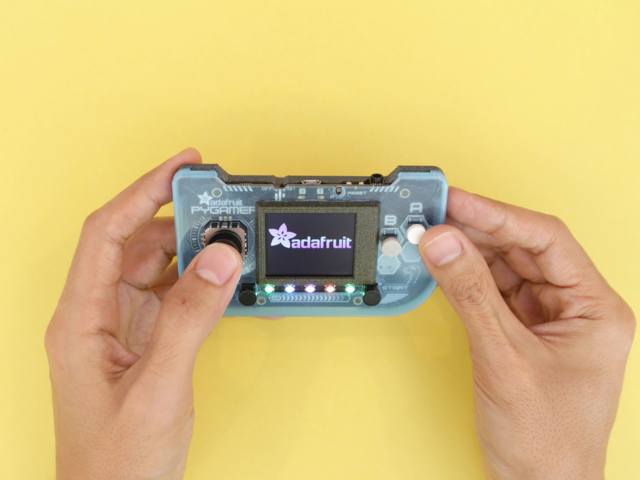
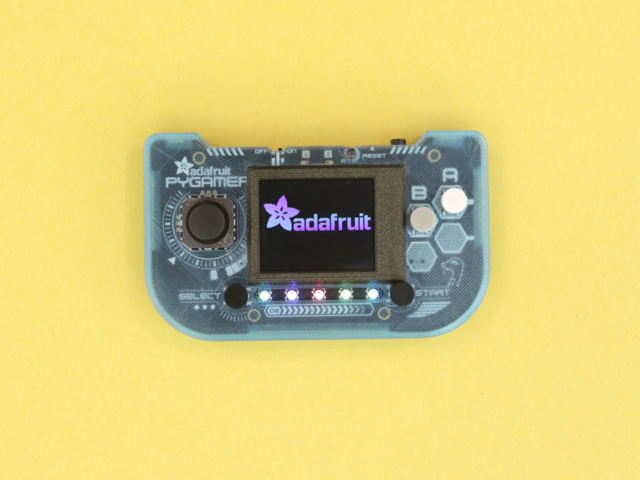
Case In Hand
The case features a 1mm chamfer on the top and bottom edges to allow for comfort. The bottom fillets follow the contour of the rounded edges on the PyGamer PCB. The case measures in at just 12.8mm thick, making it slim, and it fits well in your pocket.
You can get the PyGamer Starter Kit or order the parts you want:


Part List
Prerequisite Guides
If you're new to soldering and CircuitPython, we suggest you walk through the following guides to get the basics.