Bezel Installation
The bezel is designed to hold the screen in place. This prevents the bezel from coming off the display. In order to permanently attach the bezel to the case, we'll use super glue.

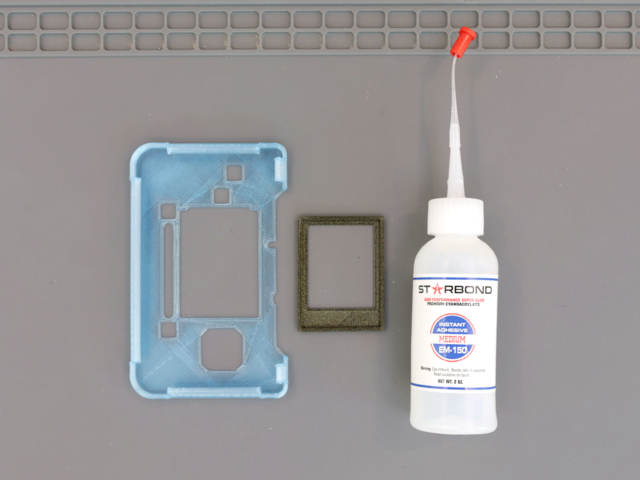
Apply Super Blue
The glue super we're using here is called Starbond medium - em150. This adhesive features a fine tip, perfect for precision application. Apply a very small amount to the edge of the bezel.

Apply Pressure
Reference the photo and match the orientations. Place the top half of the case over the bezel. Gently position the case with the bezel so the edges are lined up. This glue has a work time of about 30sec before curing. Once aligned, apply pressure to the edges.

Haze Free Curing
Super glue tends to haze up the surface of material. To avoid this from happening, apply a consistent amount of air to the parts – Use a desktop fan to keep the fumes away until the parts are fully dry.

Close It Up
Place the top half over the PyGamer PCB. Gently press down on the case so the thumb stick, buttons and screen are fitted through. Then firmly press the halves together to snap fit it closed.

Button Caps
These button caps fit perfectly on top of the PyGamers tactile buttons. They feature 2.4mm square tops and give a satisfying 8mm diameter surface area for your fingers to press.

Install Button Caps
The button caps snap fit on top of the square actuations. The PyGamer has A, B, Start and Select buttons. Pick your desired colors and snap them on!

Opening It Back Up
It's easy to open the case and get the PyGamer PCB out. There are snap fit indicators along the sides of the case. Use fingers to press on the edges and separate the halves. Start with the sides near the top. It'll pop open if both sides are done together.


