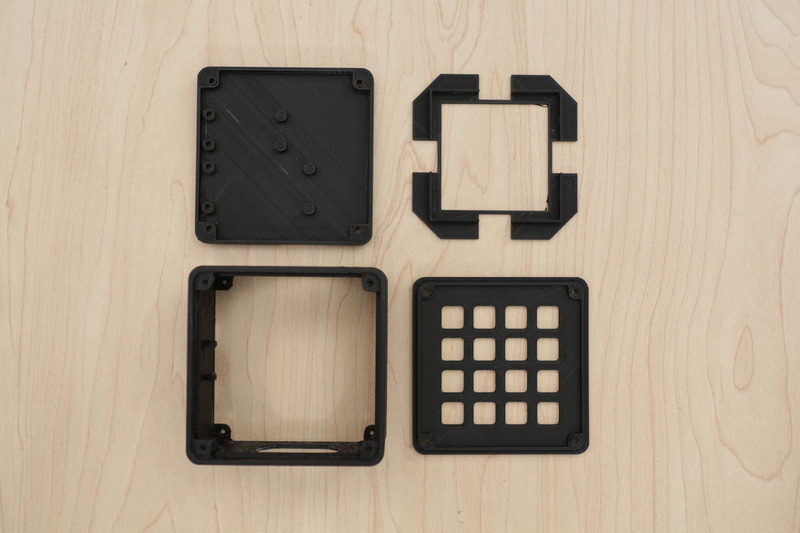
Enclosure
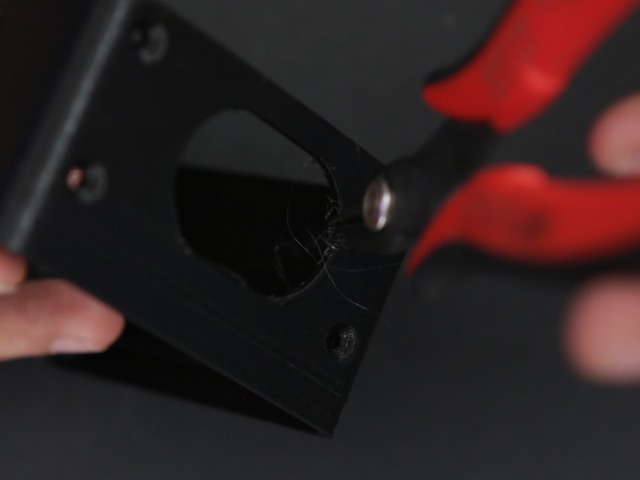
This is a four piece enclosure that prints with no support material. The two breakout boards are secured with machine screws to the standoffs on bottom cover. The two speakers are mounted on the side of the enclosure and held in place with nuts. The Trellis PCB snaps onto a tray and placed on top of the enclosure - There's an inner lip that keeps the tray in place. The top and bottom covers are secured to the frame with machine screws.

CAD customization
The original solids are available in the 123DX file. You can modify the parts to fit your parts. If the tolerances are too tight or loose, you can easily adjust the parts by modifying the faces using 123D Design.
Filaments & Materials
The parts are optimized to print with PLA filament, but it should work with other thermal plastics. The parts can print with out any support material.
Slice settings
We recommend using the basic slice settings below. The parts are orientation to print 'as-is' so the parts should be centered on the build plate. For best quality, try printing part by part as opposed to a one print full set.
sfxb-top.stl |
Top cover of enclosure |
PLA @220c |