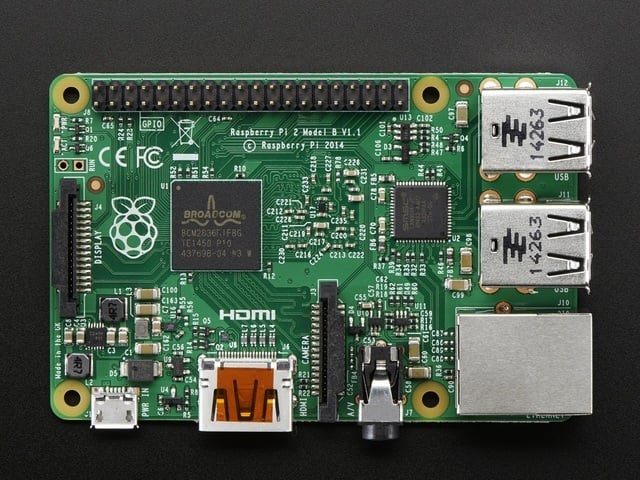
Feel like someone is snooping on you? Browse anonymously anywhere you go with the Onion Pi Tor proxy. This is fun weekend project that uses a Raspberry Pi, a USB WiFi adapter and Ethernet cable to create a small, low-power and portable privacy Pi.

Using it is easy-as-pie. First, plug the Ethernet cable into any Internet provider in your home, work, hotel or conference/event. Next, power up the Pi with the micro USB cable to your laptop or to the wall adapter. The Pi will boot up and create a new secure wireless access point called Onion Pi. Connecting to that access point will automatically route any web browsing from your computer through the anonymizing Tor network.

Who is this good for?

If you want to browse anonymously on a netbook, tablet, phone, or other mobile or console device that cannot run Tor and does not have an Ethernet connection. If you do not want to or cannot install Tor on your work laptop or loan computer. If you have a guest or friend who wants to use Tor but doesn't have the ability or time to run Tor on their computer, this gift will make the first step much easier.

What is Tor?

Tor is an onion routing service - every internet packet goes through 3 layers of relays before going to your destination. This makes it much harder for the server you are accessing (or anyone snooping on your Internet use) to figure out who you are and where you are coming from. It is an excellent way to allow people who are blocked from accessing websites to get around those restritions.

According to the Tor website:
Journalists use Tor to communicate more safely with whistleblowers and dissidents. Non-governmental organizations (NGOs) use Tor to allow their workers to connect to their home website while they're in a foreign country, without notifying everybody nearby that they're working with that organization.

Groups such as Indymedia recommend Tor for safeguarding their members' online privacy and security. Activist groups like the Electronic Frontier Foundation (EFF) recommend Tor as a mechanism for maintaining civil liberties online. Corporations use Tor as a safe way to conduct competitive analysis, and to protect sensitive procurement patterns from eavesdroppers. They also use it to replace traditional VPNs, which reveal the exact amount and timing of communication. Which locations have employees working late? Which locations have employees consulting job-hunting websites? Which research divisions are communicating with the company's patent lawyers?

A branch of the U.S. Navy uses Tor for open source intelligence gathering, and one of its teams used Tor while deployed in the Middle East recently. Law enforcement uses Tor for visiting or surveilling web sites without leaving government IP addresses in their web logs, and for security during sting operations.
BEFORE YOU START USING YOUR PROXY - remember that there are a lot of ways to identify you, even if your IP address is 'randomized'. Delete & block your browser cache, history and cookies - some browsers allow "anonymous sessions". Do not log into existing accounts with personally identifying information (unless you're sure that's what you want to do). Use SSL whenever available to end-to-end encrypt your communication. And read https://www.torproject.org/ for a lot more information on how to use Tor in a smart and safe way
This tutorial is a great way to make something fun and useful with your Raspberry Pi, but it is a work in progress. We can't guarantee that it is 100% anonymous and secure! Be smart & paranoid about your Tor usage.

You'll need a few things to run this tutorial:

Chances are you've got a couple of these items already. If not, our Onion Pi starter pack has everything you need

This tutorial assumes you have your Pi mostly set up and have followed our "Raspberry Pi as Wifi Access Point" tutorial

Please follow these tutorials in order to

Make sure to expand the filesystem to the entire disk or you may run out of space (this is done by default now on Raspbian when you boot it)

However, don't configure WiFi - you can log in over Ethernet or Serial console

When done you should have a Pi that is booting Raspbian, has working Ethernet, and you can connect to with a USB console cable and log into the Pi via the command line interface.

When done you should be able to connect to the Pi as a WiFi access point and connect to the internet through it.

It is possible to do this tutorial via ssh on the Ethernet port or using a console cable.

If using a console cable, even though the diagram on the last step shows powering the Pi via the USB console cable (red wire) we suggest not connecting the red wire and instead powering from the wall adapter. Keep the black, white and green cables connected as is.

Essentially, this tutorial just follows the tor "anonymizing middlebox" writeup here.

If you hate typing a lot, this script from breadk will do it all for you! Make sure to read through the script to make sure you don't want to change anything! (More about how to use it here!) We do suggest going step by step so you can have the experience of all the upkeep tasks.

We'll begin by installing tor - the onion routing software.

Log into your pi by Ethernet or console cable and run

sudo apt-get update
sudo apt-get install tor
Edit the tor config file by running
sudo nano /etc/tor/torrc
and copy and paste the text into the top of the file, right below the the FAQ notice.
Log notice file /var/log/tor/notices.log
VirtualAddrNetwork 10.192.0.0/10
AutomapHostsSuffixes .onion,.exit
AutomapHostsOnResolve 1
TransPort 9040
TransListenAddress 192.168.42.1
DNSPort 53
DNSListenAddress 192.168.42.1

Let's edit the host access point so it is called something memorable like Onion Pi - don't forget to set a good password, don't use the default here!

sudo nano /etc/hostapd/hostapd.conf

(Don't forget to do the AP setup step in "Preparation" before this!)

Time to change our ip routing tables so that connections via the wifi interface (wlan0) will be routed through the tor software.
Type the following to flush the old rules from the ip NAT table
sudo iptables -F
sudo iptables -t nat -F
If you want to be able to ssh to your Pi after this, you'll need to add an exception for port 22 like this (not shown in the screenshot below)
sudo iptables -t nat -A PREROUTING -i wlan0 -p tcp --dport 22 -j REDIRECT --to-ports 22
Type the following to route all DNS (UDP port 53) from interface wlan0 to internal port 53 (DNSPort in our torrc)
sudo iptables -t nat -A PREROUTING -i wlan0 -p udp --dport 53 -j REDIRECT --to-ports 53
Type the following to route all TCP traffic from interface wlan0 to port 9040 (TransPort in our torrc)
sudo iptables -t nat -A PREROUTING -i wlan0 -p tcp --syn -j REDIRECT --to-ports 9040
Next you can check that the ip tables are right with
sudo iptables -t nat -L


If all is good, we'll save it to our old NAT save file
sudo sh -c "iptables-save > /etc/iptables.ipv4.nat"
It will automatically get loaded when the networking is set up on reboot (as we did in the last tutorial on making a Pi access point)
Next we'll create our log file (handy for debugging) with
sudo touch /var/log/tor/notices.log
sudo chown debian-tor /var/log/tor/notices.log
sudo chmod 644 /var/log/tor/notices.log
Check it with
ls -l /var/log/tor
Start the tor service manually
sudo service tor start
Check its really running (you can run this whenever you're not sure, it something is wrong you'll see a big FAIL notice
sudo service tor status
Finally, make it start on boot
sudo update-rc.d tor enable
That's it, now you're ready to test in the next step.
OK now the fun part! It's time to test your TOR anonymizing proxy. On a computer, check out the available wifi networks, you should see the Onion Pi network
Connect to it using the password you entered into the hostapd configuration file
You can open up a Terminal or command prompt and ping 192.168.42.1 to check that your connection to the Pi is working. However you won't be able to ping outside of it because ping's are not translated through the proxy
To check that the proxy is working, visit a website like http://www.ipchicken.com which will display your IP address as it sees it and also the matching domain name if available. The IP address should not be from your internet provider - in fact, if you reload the page it should change!
Your web browsing traffic is now anonymized!
BEFORE YOU START USING YOUR PROXY - remember that there are a lot of ways to identify you, even if your IP address is 'randomized'. Delete your browser cache, history and cookies (some browsers allow "anonymous sessions") and read https://www.torproject.org/ for a lot more information on how to use TOR in a smart and safe way
Now that you have this project set up, you can do more...

Set up as a Wifi-to-Wifi Tor middlebox

We use Ethernet because it requires no configuration or passwords, just click the cable to get DHCP but if you want, its possible to set it up as a WiFi-to-WiFi proxy. You'll need two WiFi adapter, then edit /etc/networks/interfaces to add wlan1 and enter in the SSID/password for your Internet provider using our WiFi tutorial We don't have a tutorial for this project

Configure Tor to make your Exit Node in a particular country only

Its very easy to configure tor to give you a presence in any country of your choice. For example here's my torrc that makes me 'present' in Great Britain.
Replace aaa.bbb.ccc.ddd by the IP address of your RPi and GB by the country code of your choice.
Configure your browser to uses a Socks 5 proxy on aaa.bbb.ccc.ddd, port 9050

Log notice file /var/log/tor/notices.log
SocksListenAddress aaa.bbb.ccc.ddd
ExitNodes {GB}
StrictNodes 1

Set up as a Tor Relay or Exit Node

If you like using Tor, help make it faster by joining as a relay, or increasing the anonymity by becoming an exit node. Check out the Tor project website for how to edit your torrc to turn your Pi into either.

Donate to the Tor Project

If you like using Tor, but can't run a relay or exit node - consider donating to the project which helps pay for developers, servers and more. Your donation is tax-deductable if you are in the US

This guide was first published on Jun 14, 2013. It was last updated on Sep 13, 2016.