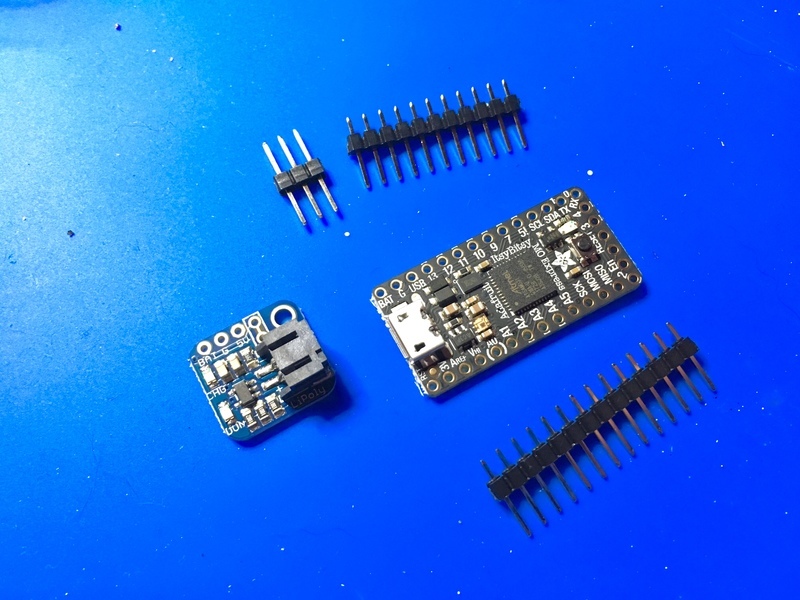
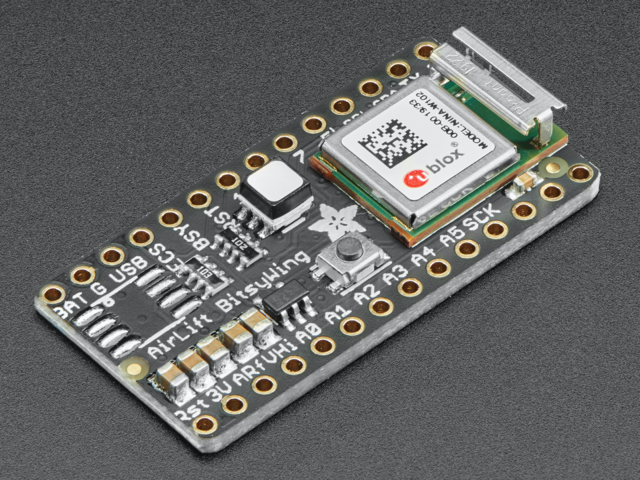
Now the fun part, putting everything together. First up is soldering the electronics. I used a quarter-sized perma proto board to have all the electronics live on like a tiny breadboard island. The quarter-sized variation is the perfect size for an Itsy Bitsy with about one row to spare.
In order to have the option to remove the Itsy Bitsy easily later, start with two rows of female headers spaced so that the Itsy Bitsy will be able to slot in. Next you'll solder the male headers to the Itsy Bitsy board along with the three longer headers that the lipo backpack will be soldered to.
Before soldering the lipo backpack to the Itsy Bitsy, solder two pieces of wire to the solder points on the board for a power button. These will be attached to the switch terminals on the potentiometer. After that, cut the trace that is between the two holes. This allows an on/off switch to work. Use a hobby knife or other similar tool to cut this. Once that step is complete, you can solder the lipo backpack to the Itsy Bitsy.
Up next is the wiring for the components according to the circuit diagram from the Electronics portion of the guide. Wires for ground, power and data for the servo are left exposed on one end so that they can plug into the servo's included header.
After soldering, you can put the electronics into the enclosure. Start by running the USB micro B extension into the side hole and securing it with its screws. Next, take the other end of the extension and plug it into the Itsy Bitsy board by running it under the board between the headers to save room inside the enclosure.
Then take the switch and potentiometer and insert them into their respective holes at the front of the enclosure. Once they're thru, secure them with their included washers and nuts. After that, you can slide the electronics fully into the enclosure, leaving the three wires for the servo off to the side. Insert the servo into the top slot and then plug the three wires into the servo's header. Close-up the enclosure by snapping on the lid.
For finishing touches add a knob to the potentiometer and pop the circular horn onto the servo. Top the servo off with the turntable platform and your turntable is ready to spin off into the sunset.


