If you are new to Microsoft MakeCode, you can learn the basics of MakeCode here.
To add keyboard support, MakeCode needs to load an extension - to bring in some blocks that are not usually loaded in the main program. To do this, click on the ADVANCED blog group:
Then click on the EXTENSION block:
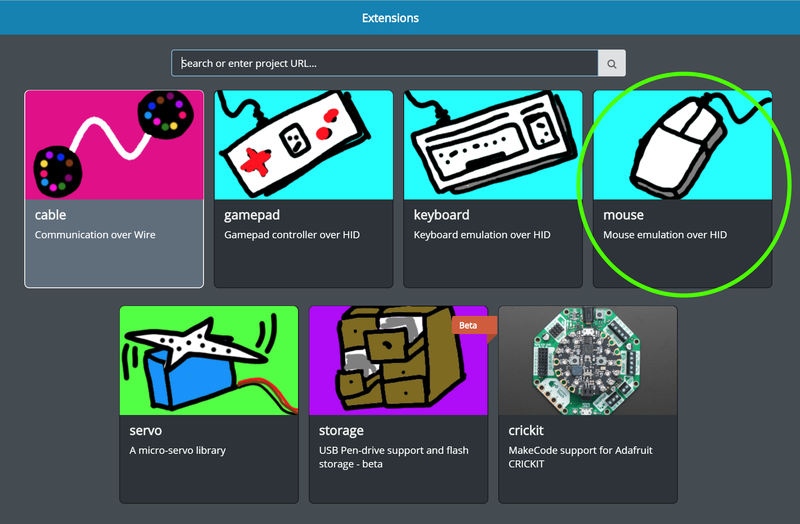
And select the mouse - Mouse emulation over HID extension:
This adds a new block group on the main MakeCode page called MOUSE with several new functional blocks when you click the group button:
At this point you will want to define some action that lets your program know you wish to use one of the mouse functions. This can be anything but for example you may want to trigger mouse input on:
- Press of the A or B buttons or the slide switch
- Press of a capacitive touch pad (marked A1 to A7)
- On a loud sound, shake of the board, or bright light
- Periodically move the mouse after several seconds, minutes, hours, etc.
For a simple demonstration, here are four button event blocks from the INPUT block group on button click - the A button on Circuit Playground Express clicks the left mouse button (down when A is down, up when A is up). If Button B is pressed, it simulates the right mouse button clicked down, up when B is released.
Moving the Cursor
You can also define moving the cursor. Ideas include:
- Using the Circuit Playground Express accelerometer tilt
- Using buttons or capacitive touch on the outside pads
The following example uses the capacitive touch pads to move in the x and y direction.
Pads A3 and A4 move the mouse horizontally, pads A7 and A1 move the cursor vertically.
Here is the code in action:


