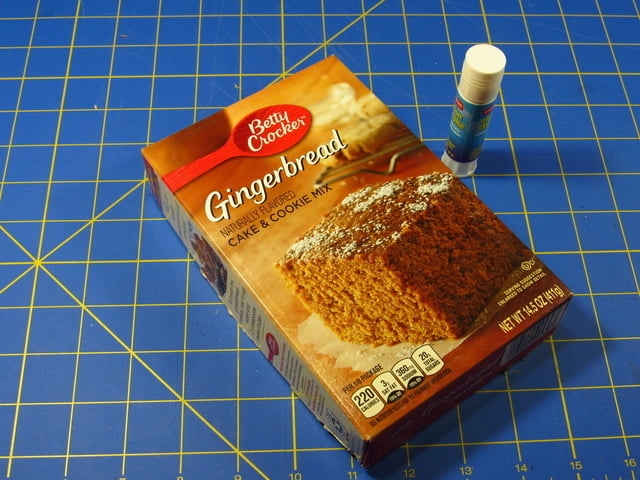
Close any open flaps and tape them down.
To make the top of the game board, you first need to cover the front of the box with construction paper. This is where you'll draw your design later.
Take a piece of construction paper and trace around the box. Cut out the paper. Use the glue stick to apply glue all around the front of the box, near the edges.
Attach the paper, lining up the edges and smoothing it down where needed.
Next, flip the box over. Draw a line around the sides of the box, near the back. You will use the back of the box later, and it helps to have a tiny bit of the sides still attached.
Cut along the line, leaving some of the flap attached. Trim the extra flap piece to make a tab you can pull if you need to open up the gameboard after it's all put together.
Set the back of the box aside for now. You will use it later as the bottom of the game board openings.
Traditionally, the Operation gameboard features an unclothed surgical patient. After giving it some thought, I decided to give my students other ideas to draw.
For inspiration, I provided diagrams of specific bodily systems. Students could make games where you do open-heart surgery, dissect a brain, or even extract teeth from a patient's mouth!
You don't even need to stick to a medical theme. Some DIY boards use robots and vintage cars. The prototype depicted in this guide is a beehive, and requires players to remove all the bees to get to the honey. And it's OK to be completely non-literal, too.
The gameboard's circuit is designed to allow you to make openings anywhere (and even add openings after its finished). So let your imagination run wild!
The only guidelines to keep in mind as you draw involve the openings you will cut into the gameboard:
- Make the openings big enough. The body parts (or other items) you are going to make need to fit inside. And players need to be able to reach in with the tweezers without setting off the buzzer. Leave extra room around each opening in your drawing so you can make it bigger if you need to.
- Space the openings around the drawing, to avoid wear and tear on any one section of the gameboard.
- Don't place the openings too close to the edge of the box.


