

This guide https://learn.adafruit.com/adafruit-audio-fx-sound-board/overview covers the use of the Audio FX sound board in depth, so it’s a good idea to have a look at it before you continue.
Download or record the sound files you want to use with your mask. Audacity is a great, free audio editing program you can use to prepare the files. This guide won’t cover the basics of Audacity, so you may want to check out some tutorials online first.
Open a sound file into Audacity, and then set the sample rate to 16-bit, and mix the track down to mono, in case it isn’t already. You should also trim off any excess silence from the head and tail of the sound. Use the normalize filter on every sound file you process in order to get a consistent volume from each sound you use on the mask.
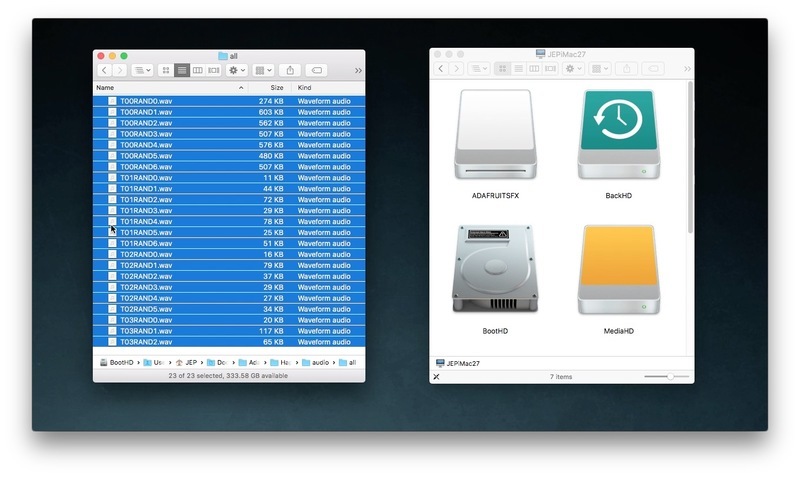
Export your sound file as a .WAV, paying special attention to naming the file. The Audio FX board has a number of different tricks up its sleeve for playback, all of which are based upon file naming conventions. Look here https://learn.adafruit.com/adafruit-audio-fx-sound-board/triggering-audio for the nitty gritty details. You’ll use either the RANDOM or NEXT playback methods for the mask. Files will be named with a prefix to pick the sound bank, such as T01, followed by the word RAND or NEXT followed by a number from 0-9, and ending with the .WAV file extension. Each bank chosen with the selector switch will be named with either the RAND or NEXT naming convention, not both.
Here’s a look at how this will work in practice: Let’s say selector switch position 1 is for choosing Pee-Wee Herman sounds. (Good choice, right?! What can I do, I’m from the 1980s.) We have three sound files named T01RAND0.WAV, T01RAND1.WAV, and T01RAND2.WAV. They’ve been uploaded to the Audio FX board (more on that later).
With the selector set to position 1, the jaw switch on the mask will ground the Audio FX pin #1 to which it is connected and thus the Audio FX board will play back files starting with the name T01. Since the files in this sound bank have the RAND keyword in them, the Audio FX board will choose a random file of the three available and play it.
Then, you could go on to, oh, I don’t know, sample the Chewbacca Mask Mom audio from the internet, and save out five individual sound files named T02NEXT0.WAV - T02NEXT4.WAV and upload these to the Audio FX board. Now, when the selector switch is in position 2, wearing the mask and opening your mouth could result in the very meta moment wherein the Chewbacca mask exclaims “It’s not me making that sound IT’S THE MASK!!!”. Each time the board is triggered it will play the next sound in order.
You may continue on in this fashion creating as many collections of sounds as you have selector switch positions wired to your Audio FX board.
Now that your sound files are prepared, press your cirucuit's tactile switch to turn it off, and then plug in your Audio FX board to your computer with a micro USB plug. The board will show up as a drive, just like a USB key. Here are more details. https://learn.adafruit.com/adafruit-audio-fx-sound-board/copying-audio-files Simply drag-and-drop your audio files to the board’s memory. You can now eject the disk and disconnect it from the USB cable.
Try out your circuit by turning it on, setting the selector switch to the different positions corresponding to your sound files, and pressing the jaw limit switch. Success!