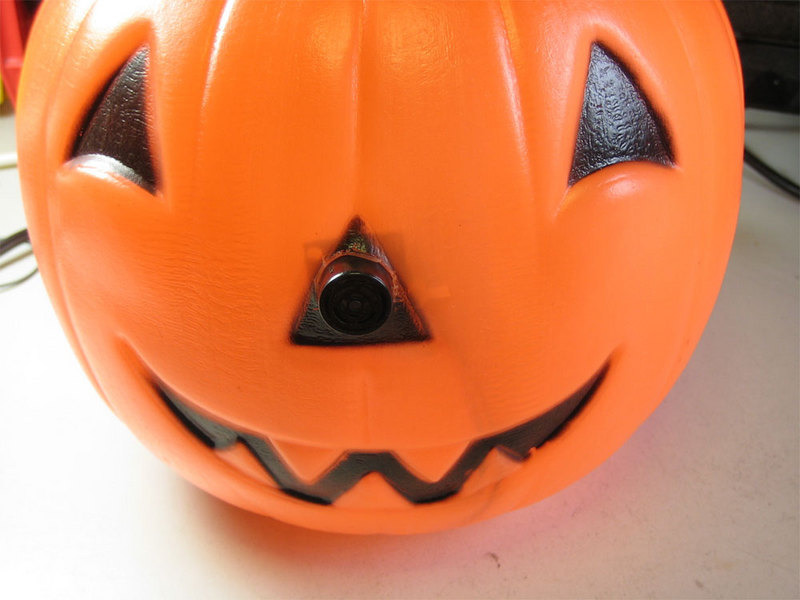
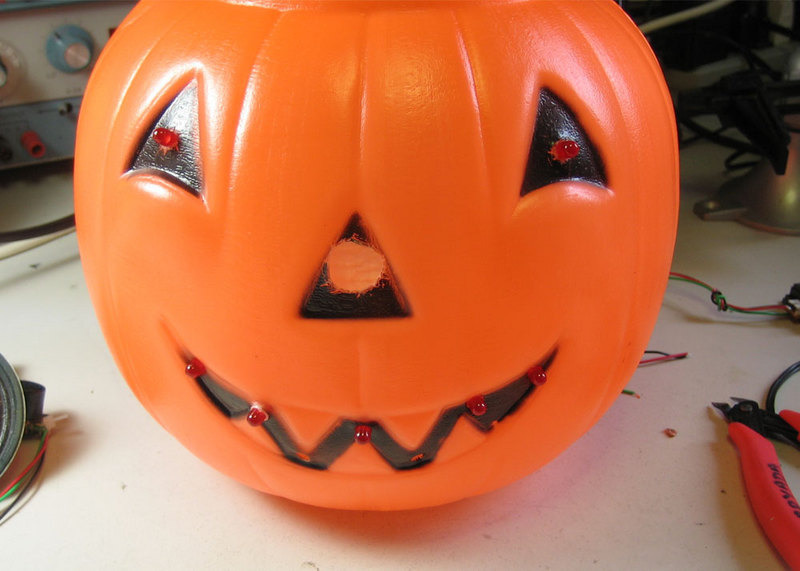
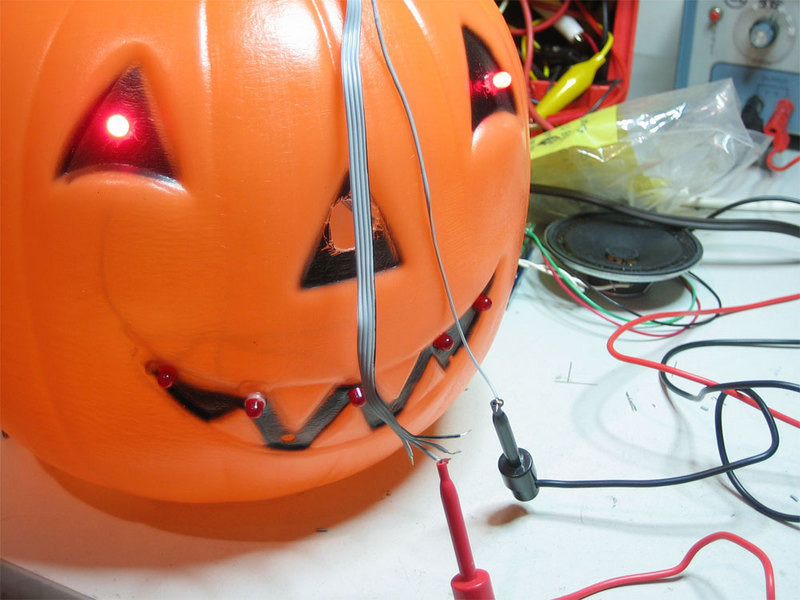
Here is a quick project for an electronic halloween pumpkin. With a bit of hacking a $1 plastic pumpkin is upgraded: a sensor embedded in the nose detects when people get close and will play scarey sounds and animates LEDs on the face. The sounds are stored on an SD card so it's easy to change and customize what the pumpkin says, while the code is written for an Arduino so it's easy to modify the behavior. I'm going to have this pumpkin outside my door to freak out the little kids who go to daycare nearby. Boo!
What you will need
- Arduino
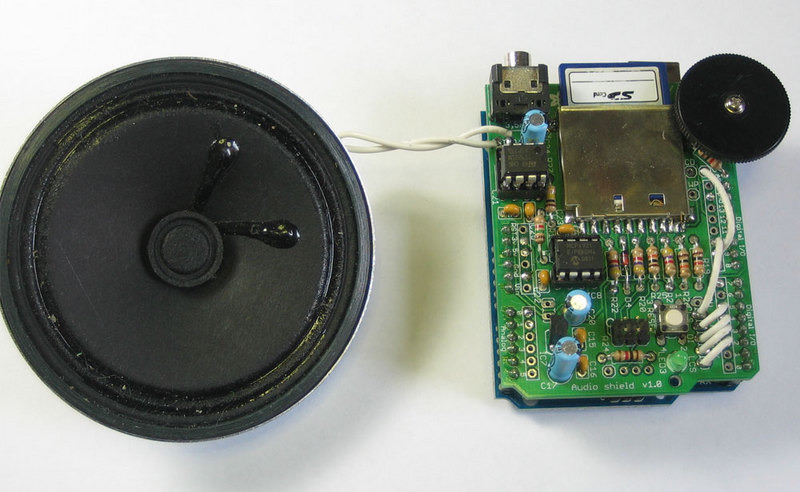
- Wave Shield + any size SD card
- Small (approx 3") 8 ohm speaker, can be recycled from a broken gadget
- Distance sensor - Sonar Maxbotics EZ1 is suggested
- A bunch of diffused red or orange LEDs + resistors
- Hollow plastic pumpkin (or other) + plastic bowl
- Wire - 22 gauge or ribbon cable is fine
- Various tools, adhesives, etc.
This isn't a particularly tough project, but you'll need to know basic Arduino/Microcontroller programming and soldering.
Sound effects
There are tons of CDs and mp3 packages available for purchase that contain a large assortment of sounds. Here are some free download sites that you can scour:
Here is my collection (in a zip file) of converted sounds: they're ready to go and have been tweaked to improve the sound where possible.