New to Adafruit IO? You can read all about it in this guide. Go ahead and get your account set up, and come back to this page when you're ready.

You'll need to obtain our Adafruit IO Key and Username. Visit your Adafruit IO Profile page and click the VIEW AIO KEY button on the left-sidebar.
A window will pop up with your Adafruit IO key and username. Keep a copy of them in a safe place, you'll need them later.

You'll create a feed called door to receive the door switch status data sent by the Funhouse.
To create the feed for the door, navigate to the Adafruit IO Feeds Page and click Actions->Create a New Feed. Name the new feed door and then click Create.

- If you do not know how to create feeds, head over to the Adafruit IO Basics: Feeds for a quick overview of this process.
Next, you"ll create an Adafruit IO Dashboard to display and control our feeds. Navigate to the Adafruit IO Dashboard page and click Actions -> Create a New Dashboard.
Name this dashboard Funhouse Door Alert and click Create. You'll be re-directed to the new Dashboard.


Add a Block
You'll create an Indicator Block to monitor the status of the door sensor.
From the IO Home dashboard, click the gear icon to see the Dashboard Settings and then click on Create New Block to add a new block to the dashboard.

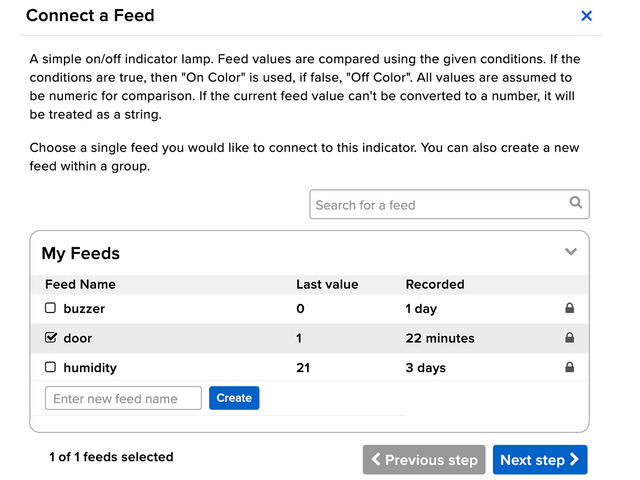

Configure Block
Configure its settings like so:
- Set the Block Title to Door Status
- On Color is green
- Off Color is red
- Conditions is set to
= 1
This means the block will be on (green) when the Funhouse sends a 1 to the door feed and off (red) when the Funhouse sends a 0 to the door feed.
When you're done, click Create block.


