
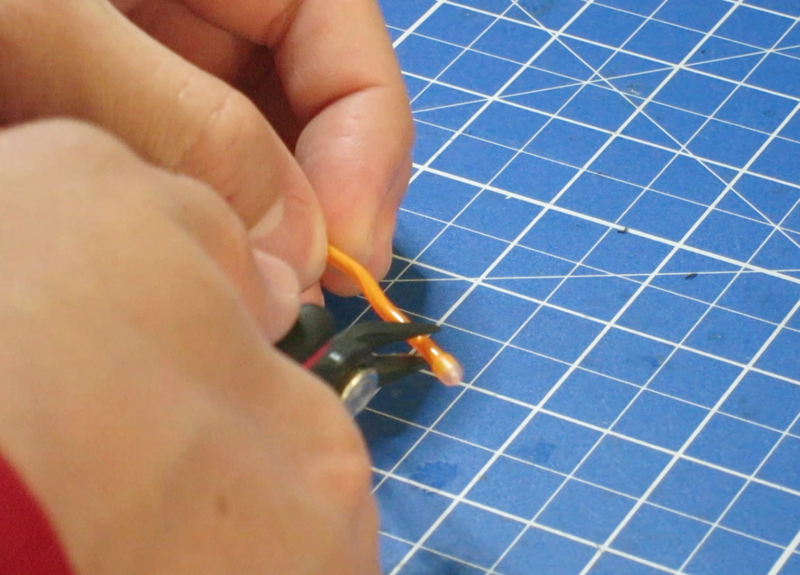
First, cut off the protective tip on the end of the EL wire.
Next, feed the entire length of EL wire through the large hole on the bowtie print.


Once the black fitting of the EL wire is up against the print, working clockwise, bend the EL wire into shape around the EL wire channel. Feed monofilament through the pairs of holes on either side of the wire channel, and tie them off into knots.


Once tied off, trim the excess monofilament.


To keep the EL wire in the right shape while tying off the filament, I used painter's tape to secure it to the print. This isn't required, but it saves some fiddling.
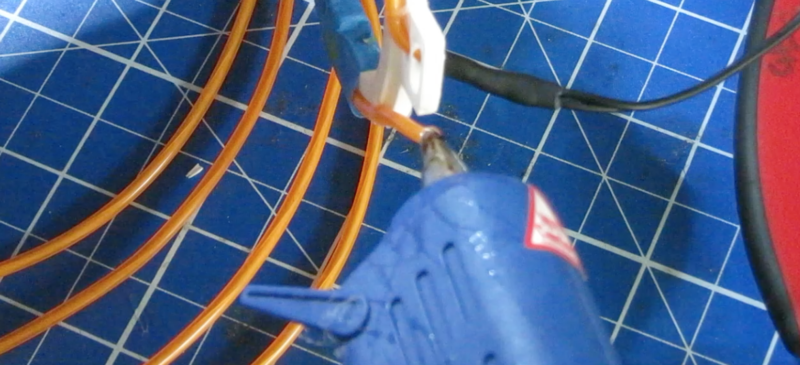
Once you've molded the wire to the bowtie shape, trim off the excess EL wire.

I then sealed the end of the EL wire with a dab of hot melt.
Finish tying off the last monofilament knots to secure the EL wire to the bowtie.

Now you can plug in the EL Coin Cell Inverter, and test the circuit!

Inverter Clip
To attach the hanging clip for the coin cell inverter, I used E6000. It's an incredible adhesive. If you don't have any, pick some up. It's available just about everywhere in the US. I got mine from a local pharmacy.


Being careful not to twist or further fray the tips, feed them through the loops on the edge of the bowtie print.

Using any adhesive (in my case, more hot melt), dab some glue to the ends of the croakies, and fold them back over onto the croakies. Squeeze until the bond is complete.


