You can dance if you want to. You can leave the world behind.
Make a tutu that reacts to your dancing. This is a great project to do with kids, or to make for all your fabulous dancer friends. (Because.. if your friends don't dance.. well, they're no friends of mine.)
The magic lies in Microsoft MakeCode's drag-and-drop code editor in combination with Adafruit's Circuit Playground Express and its onboard sensors. Play with triggering animations when you jump, cartwheel, tilt left or right, or shake and shimmy. This is really way too much fun.

Materials Needed


You Will Also Need
- A tutu. I used this one from Amazon -- it has 3 layers of tulle and one layer of satin
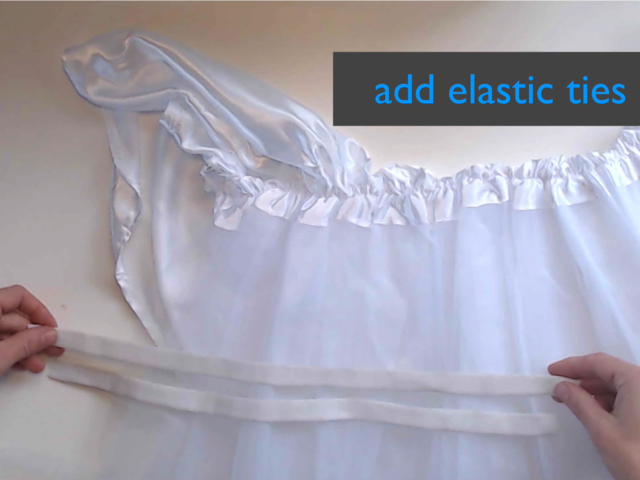
- Elastic or ribbon for ties
- A needle and thread and/or sewing machine
- A soldering iron & solder
- Wire cutters and wire strippers
If you're new to making things light up, you can get all the electronics tools you need in one convenient kit! This kit also comes with a stand for your soldering iron, and an "eraser" -- solder sucker that makes it easy to fix any mistakes you make with wiring.