Getting the board up and running with the Terminator eye animation was pretty straightforward -- the trickier part is usually how to mount the thing comfortably from the front of your face!
No worries, EVA foam sheets make this easy and fun to do, with great looking results.
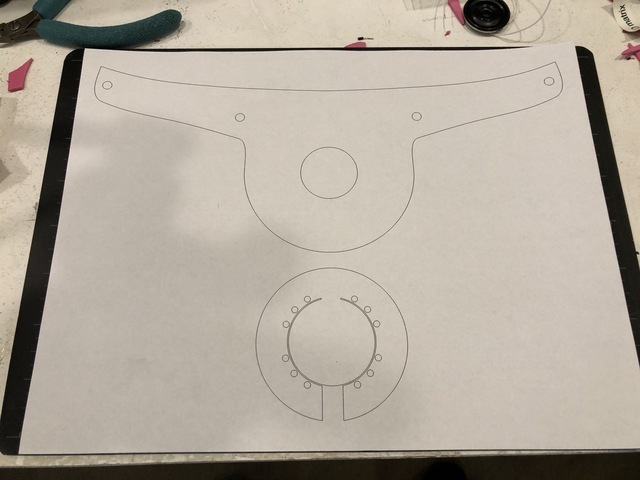
Template
First, print out the linked .pdf template file and cut it out carefully with a craft knife or scissors.
Be sure to print it at a full scale 1:1 ratio -- don't let your printer driver interface scale it to fit!


Foam Cutouts
Now, use the template to transfer the design to the foam sheet with a marker, then cut it out.


Foam Connections
Yes, it's true, we'll need to unscrew the screws we had used during board testing in order to assemble the foam backing. Sorry about that, but it was necessary to make sure everything was working in the hardware/software realm before doing the crafting portion of the project!
Re-assemble the boards with the foam backing covering the Circuit Playground side of the board as shown -- the TFT Gizmo is on the other side, face down on the workbench in this photo, with the 12 o'clock label facing "north".


Top Foam Molding
Just like forming fondant on a cake, we now get to mold the top foam over the Gizmo! The EVA foam is fairly pliable and will conform to a shape when pressed and worked into it.
Center the cutout circle over the TFT display, then work the sides down over the boards.
If you need to get even more forming action you can apply heat from a heat gun or hair drier, but I didn't find this to be necessary in this case.


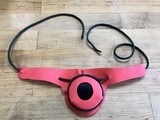
String Wrap
To better secure the foam top material, as well as to tie/clasp the device to your head later, we'll use about a 6 foot (about 1.8 meter) length of paracord or string as shown.
Wrap the center of the string under and around the boards, then wind them a few times around each other. Pull them tight and then weave them through the holes as shown.
A few dabs of CA glue can help keep the cord twists together where they overlap, although this is optional since the tension applied by wearing the headband will keep it together.


Finishing Touches
Use a small amount of CA glue to secure the two foam pieces, being sure to leave a space unglued for USB cable to plug in from the top.
You can use some clothespins to clamp the parts while the glue dries.


Optional Clasp
You can simply tie the string around your head when you are ready to wear it, or add some fancy plastic paracord buckles as shown here.

Now, dress it up with your favorite Santa hat and beard!


