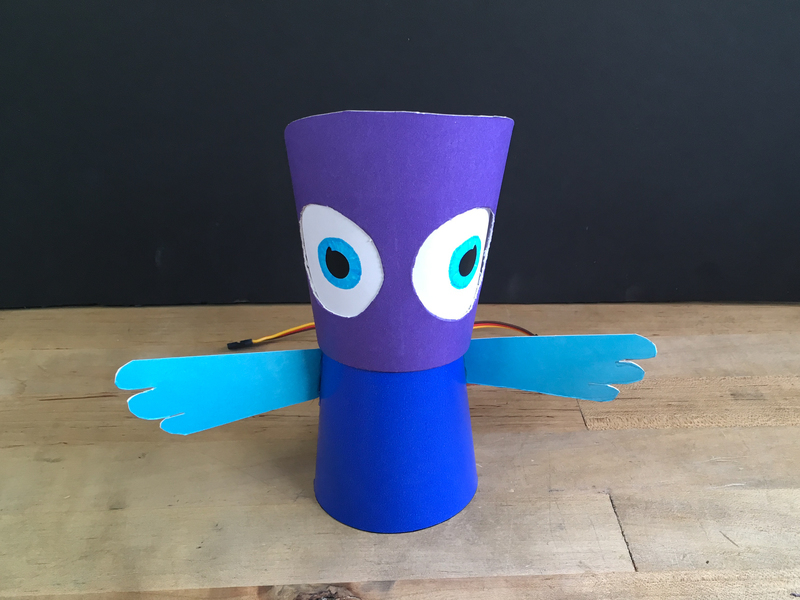
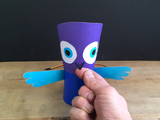
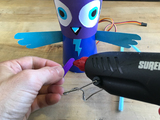
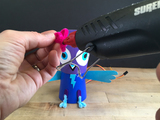
Build your own Minerva Owl Bot, powered by Crickit! Program her in CircuitPython to talk, look around, and flap her wings!

It doesn't take exotic materials to build your own audio-animatronic, just a few paper cups, craft supplies, a couple of servos, and a Circuit Playground Express with Crickit, battery pack, and a speaker!

Parts

1 x Adafruit CRICKIT
for Circuit Playground Express
1 x Circuit Playground Express
Incredibly awesome microcontroller board
1 x Standard servo
180 degree rotation servo
1 x Micro Servo
Tiny 180 degree rotation servo
1 x Male DC Power adapter
2.1mm plug to screw terminal block

Materials & Tools

To build this project you'll need:
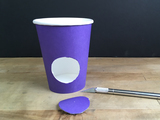
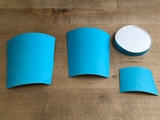
  • Paper cups, 4 ea.
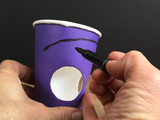
  • Hot glue and glue gun
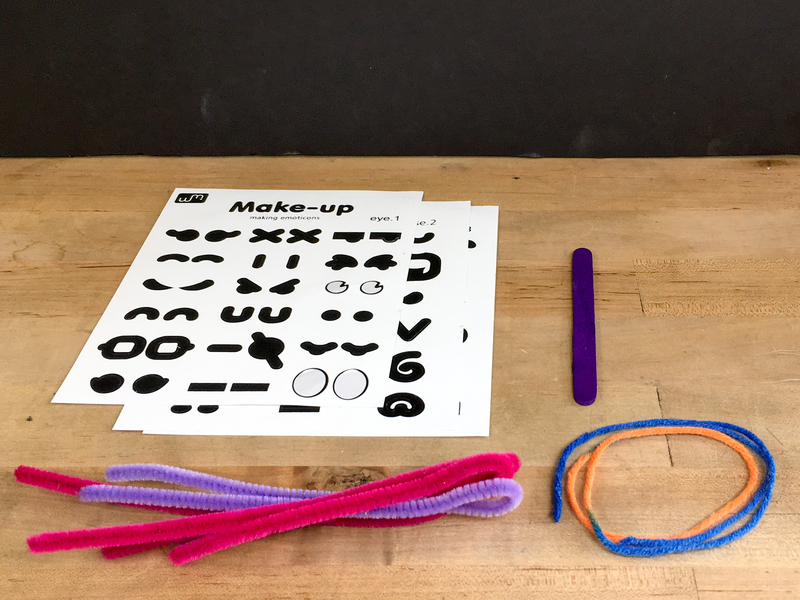
  • Pipe cleaners for decoration
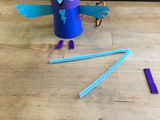
  • Popsicle stick, 1 ea.
  • Yarn or string
  • Scissors
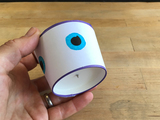
  • Colored markers or paint pens
  • Optional stickers for facial features

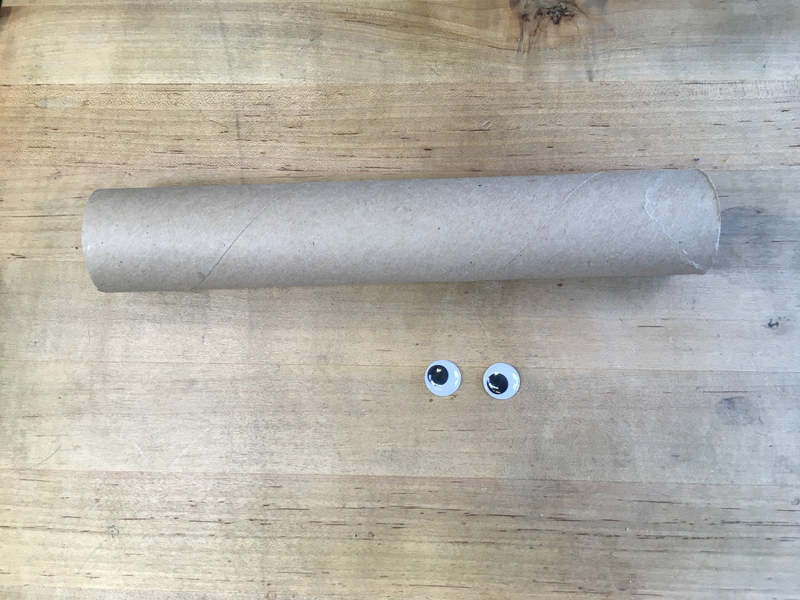
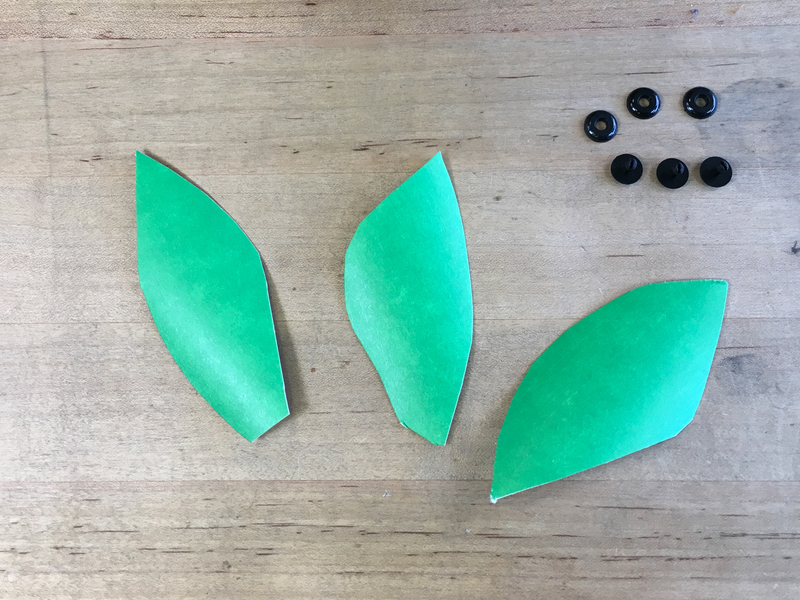
For the Bonus Builds your also need:

Fabrication

Minerva's eye movement is based on a very creative technique I first was shown by Phil Torrone in his B.O.B. robot seen here, made entirely of recycled cups and containers:

The basic principle is that there are two cups, one inside the other. The outer cup is the head/face and has cutouts for eye sockets -- through which the inner cup can be seen. The inner cup has pupils, irises, and eye whites on it.

When the inner cup is rotated, instant eye movment! Here's a demonstration using two clear cups:

Build the Head

  • The head and eyes will be made of two cups, one inside the other. The head will have eye holes cut from it, the inner cup will show through from the inside. Orient them “right side up”
  • mark and cut out the two eye sockets as shown. you can use a compass or trace something round for a consistent shape and size — or, just “eyeball” it! (sorry.)
  • Trim off any excess height if you want the head to be shorter — just do the same adjustment for the inner eye cup

Make the Eyes

  • To make the eyes, first trim the second cup's height down so it'll fit inside the head cup
  • Place a strip of white paper around inner cup, and tape it in place
  • Draw on pupils and irises or use stickers!

Micro Servo for Eye Movement

  • Mark the center point of the bottoms of both cups — this is where the micro servo and servo horn will go to connect through the cups
  • You can find center by measuring the diameter of the cup bottom, then halving that number and marking a point at that distance from the edge with a compass
  • Poke a small hole through the center of the inner eye cup, and a larger one through the outer head cup so the servo shaft will fit through
  • Mark the round collar of the servo on the cup to cut out the shape to hold the servo in place as shown
  • Glue the servo in place with a small bit of hot glue
  • Do the same to adhere the servo horn to the bottom of the eye cup — you can use a small screw to help with alignment

We'll connect the eye cup's servo horn to the head cup's servo shaft later, but first we'll build the owl's body.

Build the Body

  • You’ll use a smaller blue cup inverted for the body. It will hold the micro servo that turns the eyes, as well as hold the full size servo for the wings
  • Mark the micro servo’s four bottom screws with marker to make an impression on the “neck” of the body
  • Press the servo down with the head aligned in the center
  • Cut away the four edges formed by the marker points
  • Cut the blue body cup down to size if you like
  • Position the full servo on the back of the body so that there will be room for the micro servo "neck" above, as shown
  • Cut out the hole for the full servo, then press fit it in place
  • Feed in the servo cable first, and then press fit the servo in place as shown

Add Wings

  • Cut some material from a sacrificial light blue cup or other paper for the wings and other decoration
  • Draw out a wing pattern on one piece, then cut it out
  • Transfer the pattern to the underside of another piece of light blue cup material/paper to get the mirror image, then cut it out
  • Bend the “shoulders” in a little bit, then hot glue the wings to the body

Flapping Rig

  • We’ll flap the wings with a servo and some yarn. As the servo twists, the yarn that runs from each wing to the servo horn will rotate and cause the wings to flap back and forth
  • Widen the holes in two ends of your servo horn so you can thread the yarn through as shown
  • Fit the horn onto the servo
  • Hot glue one end of the yarn to a wing
  • Once the first spot cools, pull the yarn taught and then glue it to the second wing
  • Once all glue has cooled, you can trim the excess yarn beyond the attachment points, then tighten the yarn right a bit by twisting it over a servo arm
  • Test twisting the servo to see the wing flapping action!

Add Eyes

  • Add the eye cup to the head now by positioning the servo horn over the shaft
  • Gently press until the horn fits in place over the shaft -- you may need to wiggle the eye cup back and forth a bit to find the right spot!

Your robot is built, but now let's add some decoration!

Decoration

First, we'll add a beak. You can draw on a triangle, or use a sticker, then cut out a proper beak from the light blue cup or paper as shown below.

You can even draw on some eyebrows or use stickers.

A beak outline and a glued on beak add lots of character!

Don't forget about Minerva's stylish lightning bolt!

Popsicle Stick Legs

  • Carefully trim a couple of pieces from a popsicle stick for legs, then glue them on
  • Cut some short lengths of pipe cleaner, and fold and twist them in to adorable little owl feet! Glue them onto the popsicle sticks

Pipe Cleaner Trim

  • Bend another pipecleaner to form Minerva's head feathers
  • Glue the feathers into place inside the head -- make sure not to glue it to the eye cup!

You can use two more pipe cleaners to create Minerva's distinctive face markings. Shape them and tack them in place with hot glue.


Lashes

Our last bit of decoration will be eyelashes. We'll use a marker to draw these on.

You've completed building your robotic owl! Now it's time to wire things up to the Crickit robotics board!

Wire for Power and Sound

Plug the 3 AA battery pack into the 2.1mm DC power input on the Crickit.

Insert the two speaker wires into the two Speaker terminals on the Crickit. Either wire can go in either port, it is not polarized. Screw the terminals down into place.

Connect the Servos

Wire the micro servo that drives the eyes to the Servo 1 port on the Crickit board, and the full size servo that flaps the wings to the Servo 2 port. The yellow wire faces out, the dark wire faces towards the Circuit Playground Express.

Minerva is wired and ready for programming!

The program we'll use will do three primary things:

  • play audio files
  • rotate Servo 1 back and forth to move the eyes
  • rotate Servo 2 back and forth to flap the wings

This is pretty straightforward in CircuitPython, especially because the Crickit and Circuit Playground Express combination is capable of playing back wave files while still doing other things!

First, we'll get everything set up, then we'll look at the code.

Setup the CPX and Crickit

The Circuit Playground Express (CPX) paired with the Crickit is a powerful, yet simple to use combination for building animatronics! To get started, you'll want to set up the CPX for use with CircuitPython by following this guide. When you're ready, and can upload code to the board return here.

To use the Crickit with the CPX, follow the steps listed here to install the special build of CircuitPython, as well as the latest library bundle.

Adafruit really likes using the Mu editor to edit the CircuitPython code. See this guide on loading and using Mu.

Playing Audio

The Circuit Playground Express plays back .wav files. If you would like to prepare your own files, follow the instructions in this guide. Download the following files and then uncompress the .zip file. Copy the .wav files to your CPX, which shows up as CPLAYBOOT on your computer.

Servo Eyes and Wings

To move the eyes and flap the wings, we'll send commands to the servo motors. Typical servos have a 180° range of motion, from 0° to 180° with 90° being the center position.

When our code starts we'll center both servos by telling them to go to 90°. Then, as each audio file is played back we'll send commands to the servos to swing back and forth between positions.

Here's the code. Download it and then save it to your CPX as code.py

# SPDX-FileCopyrightText: 2018 Kattni Rembor for Adafruit Industries
#
# SPDX-License-Identifier: MIT

import time
import board
import audioio
import audiocore
from adafruit_crickit import crickit

# Minerva Owl Robot

wavefiles = ["01.wav", "02.wav", "03.wav", "04.wav",
             "05.wav", "06.wav", "07.wav", "08.wav"]

# Two servos
eye_servo = crickit.servo_1
wing_servo = crickit.servo_2
# TowerPro servos like 500/2500 pulsewidths
eye_servo.set_pulse_width_range(min_pulse=500, max_pulse=2500)
wing_servo.set_pulse_width_range(min_pulse=500, max_pulse=2500)

# Servo angles
EYES_START = 90
EYES_LEFT = 110
EYES_RIGHT = 70
WINGS_START = 90
WINGS_END = 160

# Starting servo locations
eye_servo.angle = EYES_START
wing_servo.angle = WINGS_START

# Audio playback object and helper to play a full file
a = audioio.AudioOut(board.A0)


def play_file(wavfile):
    print("Playing", wavfile)
    with open(wavfile, "rb") as f:
        wav = audiocore.WaveFile(f)
        a.play(wav)
        while a.playing:  # turn servos, motors, etc. during playback
            eye_servo.angle = EYES_LEFT
            time.sleep(.25)
            eye_servo.angle = EYES_START
            time.sleep(.25)
            wing_servo.angle = WINGS_END
            time.sleep(.2)
            wing_servo.angle = WINGS_START
            time.sleep(.2)
            eye_servo.angle = EYES_RIGHT
            time.sleep(.25)
            eye_servo.angle = EYES_START
            time.sleep(.25)


while True:
    for i in range(8):
        play_file(wavefiles[i])
        time.sleep(2.5)

Editing Your Code

If you'd like to make changes to the code at any time, Adafruit suggests using the Mu editor to edit your code and have an interactive REPL in CircuitPython on your computer (Mac, PC, Linux). You can learn about Mu and installation in this tutorial.

With your Crickit powered by the AA battery pack, its power switch in the ON position, and your code on the Circuit Playground Express, press the tiny CPX Reset button to begin. Minerva comes to life!

You can now try recording your own lines, changing the movement patterns and more, all in CircuitPython!

For the bonus tree and baby owl builds, continue on to the next page.

Owl Friends

If you've done any cardboard crafts at camp or in school, you may be familiar with this classic owl design! All it takes is a paper towel tube or toilet paper tube, some scissors or a hobby knife, googly eyes, and paint or markers!

Follow the images below and make your own!

Tree Time

You can also build a nice tree set for Minerva and friends! This one is made from some nice, thick 5-ply corrugated cardboard from a large shipping box.

Minerva has an affinity for cogs, so we'll decorate with plastic, gear-like "paddle wheels".

Poseable branches are joined to the trunk with Makedo Scrus.

You can make leaf clusters (also poseable) from paper cups and plastic pop rivets.

Have a look at these photos for inspiration!

Leaf Clusters

Branch Joints

Just Add Cogs!

This guide was first published on Jun 27, 2018. It was last updated on Jun 27, 2018.