For this project you'll need the following hardware:
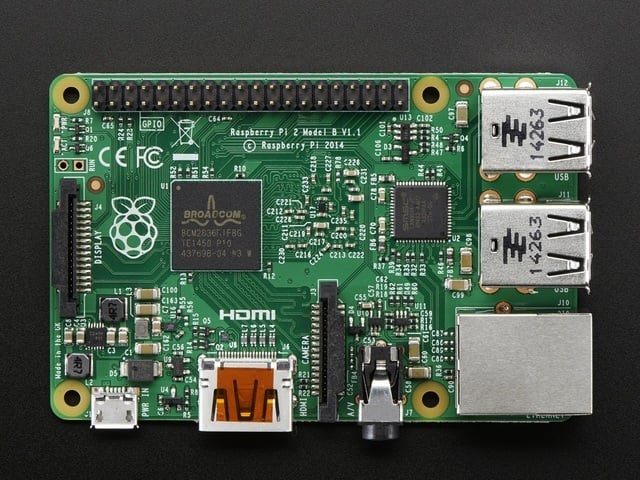
- Raspberry Pi - I've tested this on and recommend the model B version with 512 MB of memory. The extra memory will help speed up compilation, and support loading more 3D model and texture data. Also, your Raspberry Pi will need to be connected to the internet to download the code and dependencies for this project.
- Raspberry Pi camera or USB webcam - The Pi camera has a fast refresh rate without much CPU usage, but a narrow field of view. A USB webcam typically has a wider field of view, but will consume more CPU and potentially run slowly. Stick with using a simple, low resolution webcam to help reduce the CPU usage--I had good results with this model from Frys.
-
Television or monitor - You need a display hooked up to the Raspberry Pi to show the creepy portrait. Any HDMI flat screen TV or computer monitor will work great!


Consider building a custom frame for the monitor as a nice finishing touch. I followed this set of instructions and had good results building a frame with wood molding and gold metallic spray paint. You can see some of the hardware and build steps to the left.
To build a frame you'll need these materials and tools:
If you build a large enough frame you might even be able to drill a small hole in it to completely hide the camera, and hide the Raspberry Pi behind the monitor!
To build a frame you'll need these materials and tools:
- Picture frame molding - Look in the crown & floor molding section of a big hardware store. Buy enough to fit the dimensions of your monitor, and remember you'll waste some on the edges to get the cuts to align. I used ~6 feet of material to build this 15" monitor frame.
- Miter saw and guide box
- Metal corner braces
- Wood glue
- Ratchet strap or other clamps
- Sand paper (medium to fine grit)
- Primer and paint
If you build a large enough frame you might even be able to drill a small hole in it to completely hide the camera, and hide the Raspberry Pi behind the monitor!
Continue on to install and learn about the software used in this project.