This pendant was designed in Fusion360 from a .png logo file. See the full design process in the video at the beginning of this guide.
Download and edit our Fusion360 Project here:
Or download the completed .stl to print at home:
If you don't have a 3d printer you can order a complete print for just a few dollars from Shapeways. Or, you can order a silver or platinum one for just a few (thousand) dollars more.
3d Printer Settings
This pendant will print with no supports or raft. I used 20% infill and a very high resolution -- I set my layer height to 0.100 to get a really smooth curve along the edge. The smoother it prints, the less sanding you'll need to do in order to get it ready for the mold.

Molding & Casting
Once your print is finished and sanded smooth, use silicone putty mold maker to make a mold of your pendant. Be sure to squish it into all the cracks very well in order to avoid air bubbles, which will show up in your cast.
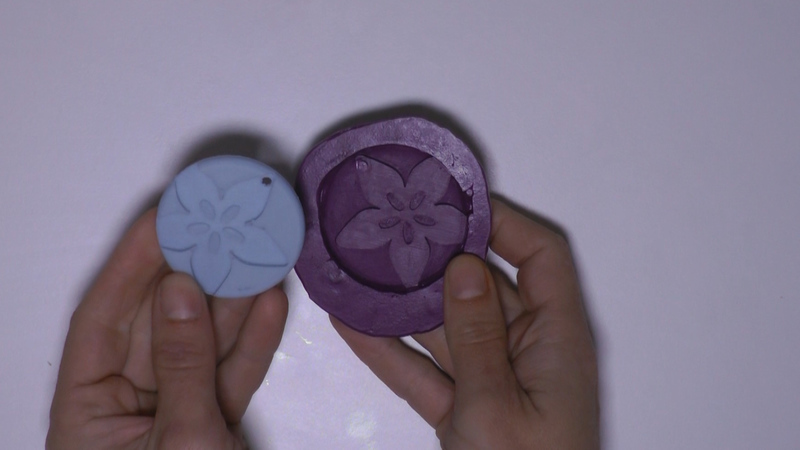
Cut a pour spout in your mold, then dust it with talcum powder for a smoother pour. Clamp the finished mold to some wood or another heat-resistant flat surface and pour in your molten pewter. It may take several tries to get a good cast!

Once you're happy with the cast, trim off the excess metal from the pour spout and sand the pendant with increasingly finer grit sandpaper until you achieve the level of shine you want.

Finally, add your necklace hardware and enjoy your new style!


