IoT Bluetooth NeoPixel Lamp
A Bluetooth Low Energy / Internet connected light can be used for all sorts of things. As a status indicator, it could be used to let you know when something has occured. With Adafruit IO, this can combined with IFTTT( If This Then That) so the colors of the NeoPixel ring can reflect a change.

Prerequisite Guides
It's a good idea to walk through the following guides to get familiar with the libraries, software and components.

Tools & Supplies
- 3D Printer + Filament
- Soldering Iron + Solder
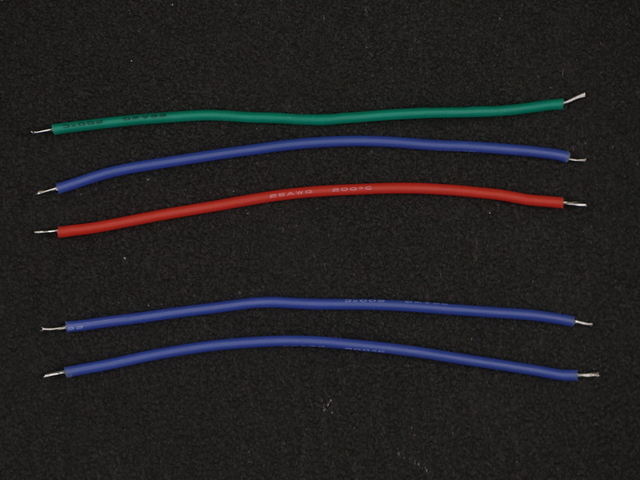
- 26AWG Wire
- Wire Strippers
- Helping Third Hands
- Screw Driver
- 2x #4-40 3/8 Flat Phillips Machine Screws