PLA Filament
These parts are optimized for printing in copperFill and PLA material. The parts print best without any supports!
|
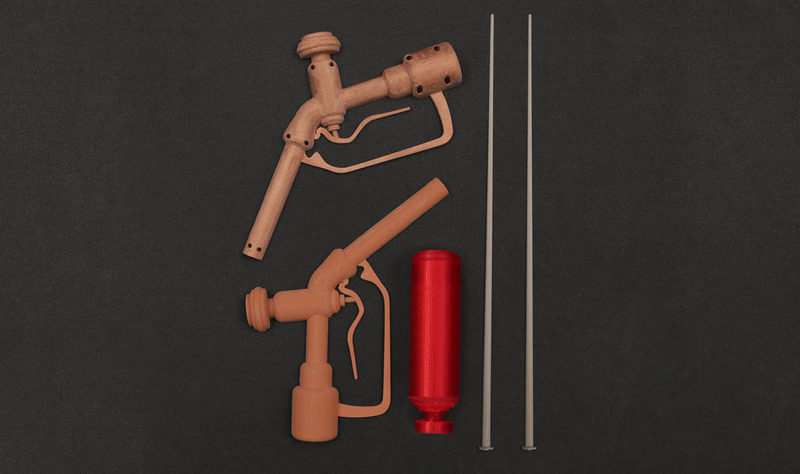
syringe-body1.stl syringe-body2.stl syringe-nipple.stl syringe-bottle.stl syringe-needle.stl |
@235 copperFill 60mm/s Print Speed |
body1 and body2 pieces take about 3 hours to print each. The ninjaflex nipple takes about 45 mintues to print. Needle parts each take about 30 mins to print. Bottle part takes about an hour to print. |
Slicing Software
The recommend settings above should work with most slicing software. However, you are encouraged to use your own settings since 3D printers and slicing software will vary from printer to printer.

Clean up
Prepare the cavity for the tactile button by removing any material around the actuator. It should freely move when the triggger handle is squeezed.

Test snap fit
Use a hobby knife to remove any material around the walls of the cavity and then test fit the snap fit tolerance with the 6mm tactile button.

Prepare standoffs
Tweezers or a small screw driver can be used to slightly enlarge the mounting holes for the standoffs. This will make it easier to create the threads inside the standoffs.

Thread mouting holes
Use #2-56 3/8 screws and small screw driver to create the threads inside the standoffs.


