Header Assembly
This step is optional if you plan to solder wires directly to the TS2012 breakout. However, if you plan to use the amplifier in a breadboard or connect the speakers to the terminal blocks, you'll want to follow these steps! Soldering iron and solder are required, if you're new to soldering, check out our tutorial here

Start by finding the 0.1" male header that came with your kit and breaking it if necessary into a 10-pin long piece. You can use a pair of pliers or diagonall cutters to trim the header down to 10 pins long.
Place the long ends into a breadboard as shown.
Place the long ends into a breadboard as shown.


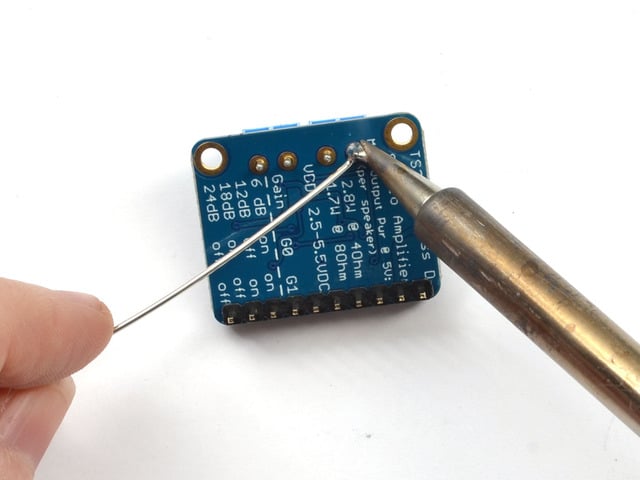
Solder them up! Solder each pin one by one, making sure you have a good connection for each pin and pad, nice shiny joints.