This DIY boat project is a great way to dip one's toes into coding.
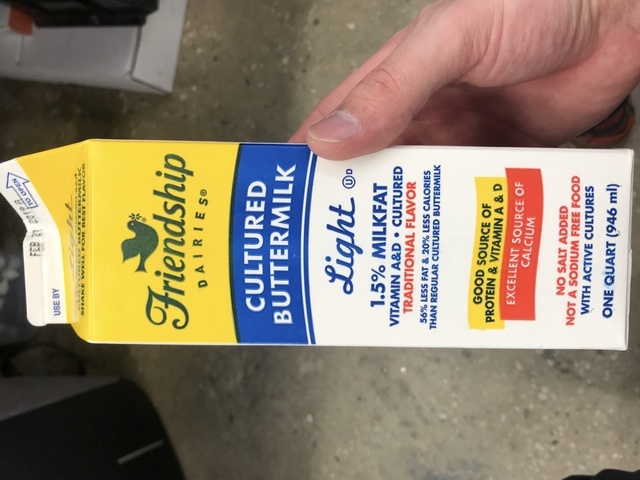
A one-quart milk carton is the perfect size for a boat that will easily contain all the electronics you want to add while still a convenient size for playing in a bathtub.
This project will take you through the build process and demonstrate how to use MakeCode to control the boat in a variety of ways.

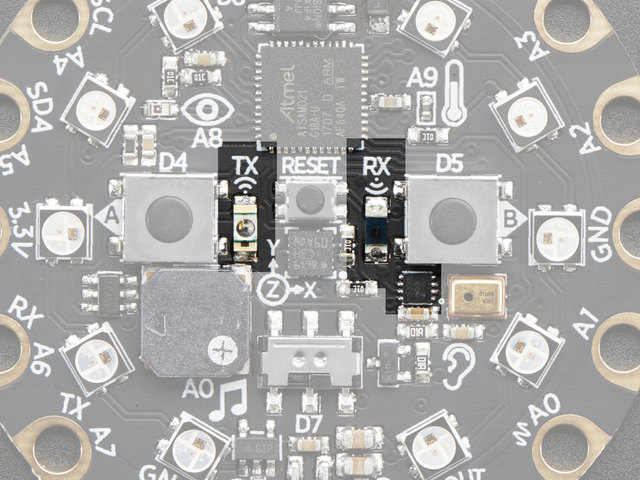
Circuit Playground Express is the next step towards a perfect introduction to electronics and programming. We've taken the original Circuit Playground Classic and...
$24.95
In Stock
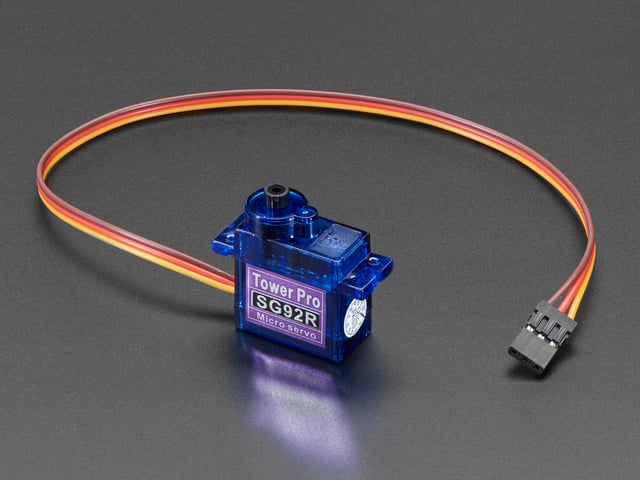
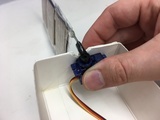
Tiny little servo can rotate approximately 180 degrees (90 in each direction) and works just like the standard kinds you're used to but smaller. You can use any servo...
$5.95
In Stock

When working with unusual non-header-friendly surfaces, these handy cables will be your best friends! No longer will you have long, cumbersome strands of alligator clips. These...
$3.95
In Stock

By popular request - we now have a way you can turn on-and-off Lithium Polymer batteries without unplugging them.This PH2 Female/Male JST 2-pin Extension...
$2.95
In Stock

Lithium-ion polymer (also known as 'lipo' or 'lipoly') batteries are thin, light, and powerful. The output ranges from 4.2V when completely charged to 3.7V. This...
Out of Stock

This battery holder connects 3 AAA batteries together in series for powering all kinds of projects. We spec'd these out because the box is slim, and 3 AAA's add up to about...
$1.95
In Stock

Battery power for your portable project! These batteries are good quality at a good price, and work fantastic with any of the kits or projects in the shop that use AAA's. This is a...
$1.50
In Stock
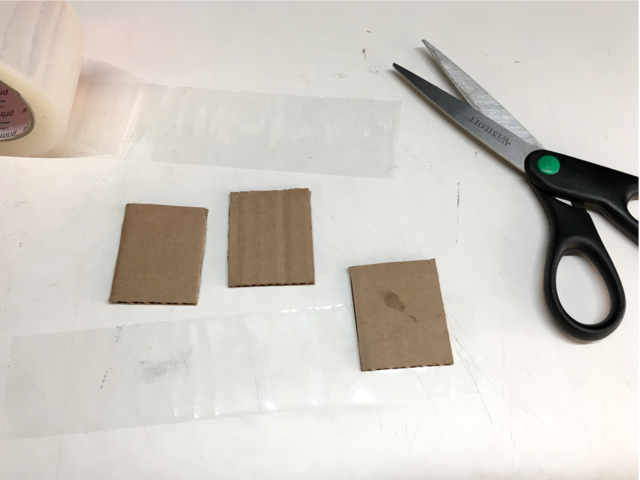
Other Materials
For this project you will need:
- Empty quart-sized milk carton
- Scissors and/or box cutter
- Double sided tape
- Scrap corrugated cardboard
- Clear masking tape