
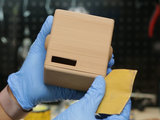

Sanding Woodfill
To stain the wood filament, we'll first need to sand all of the parts. Start with an 80 grit sand paper and then finish it off with a 220 grit sand paper.
Fold the sand paper to get into the smaller areas around the face. Create a triangle to sand into areas around the eyes.
Make sure to wear a protective mouth mask and sand in a well ventilated area as it will take a fair amount of time to fully sand all of the parts.

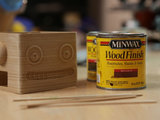


Stain
We used a dark stain and a lighter coat on top to give it a multilayer stain.
Wood putty can be applied if there are any noticeable gaps on your parts. Apply in and around the gaps and then sand to blend into the material.
Use a stick help stir the can of stain and use a cloth to apply a textured stroke to add those wood grain patterns.
Don’t apply a lot of pressure, just gently glide the cloth across parts. Fold the cloth into a small shape that can fit around smaller pieces.
Allow the stain to dry and the use the 220 grit paper to remove any excess colors. The remaining stains between layer will give it a wreathed look.
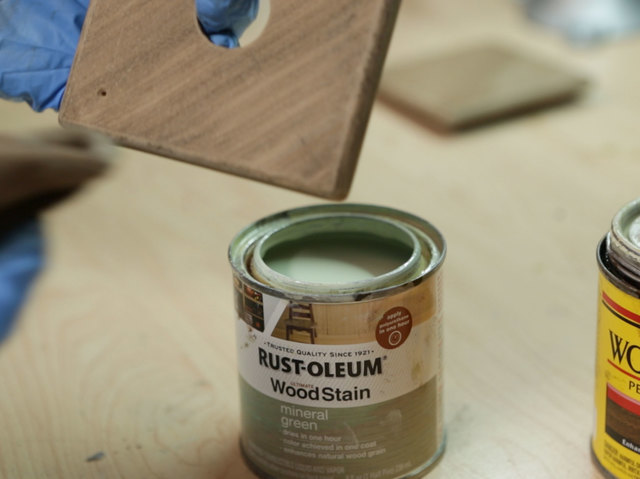


Multilayer Stain
Give the enclosure depth by applying a second lighter coat of stain. We really like the green stain color to help brighten up the parts.
Use a clean part of the cloth and apply small amounts using a stroke motion to carefully coat parts. Try not to over saturate parts. Fold the cloth into triangle and gently apply thin strokes to the enclosure.
Allow this coat to dry and then sand once more using 220 grit paper.


