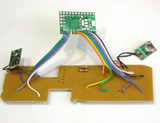
OK we're basically ready to go. The plan is to solder a single Ground wire to the common ground for all the buttons, then solder a seperate wire to each button (the not-ground side). The ground connects to the Teensy ground, the button wires connect to all the solder pads down the side. Then we'll write the code that listens to the button presses and converts them.

Cut off a strip of ribbon cable, about 4" long. Use diagonal cutters or fingernails to carefully nip and 'rip' the individual wires apart about 1" and then strip the ends and tin them with solder. Do this for both sides.
I made this cable about 1" too long initially, but its always easy to make the cable shorter!
To connect to ground, we'll expose a little copper in the top left corner, this way we don't have the wire running underneath the elastomer.
Solder the Black wire to the ground plane, we brought the wire through a hole.
OK lets solder to the first button. The key is to remember to NOT solder to the same common pad but to the opposite pad! Solder the white wire to the 'up' button. There's almost always a hole you can feed the wire through!
Solder the gray wire to the Right pad, the purple wire to the Down pad and the blue wire to the Left pad.
From the back.
Then the orange wire goes to the L1 button, the yellow goes to Start and the green to Select.

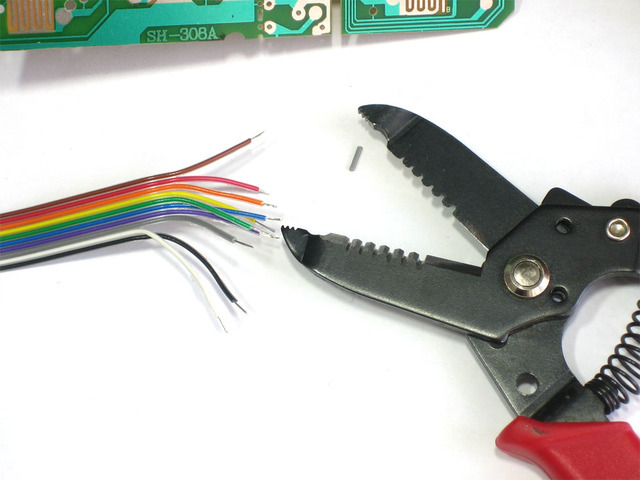
I didnt end up using the Red or Brown wires so I tore those off the ribbon. Now cut another piece the same size but with only the white, gray, purple, blue and green wires.


Connect white to B, gray to A, purple to X, blue to Y and green to R1.

If you haven't yet, now is a good time to desolder the SNES connector cable. We wont have space for it so just pull each wire as you heat the solder joint (or just cut them short, either way).

OK! Now all the buttons are wired up, its time to attach them to the Teensy. Place the Teensy in a vise or carefully use a 'third hand' to hold it (grab by the USB connector).

First, solder the black wire to the ground pin.

Next start soldering in all the ribbon cable wires, one after the other, without skipping any holes.
After the first ribbon cable, go to the second piece, starting with the white wire. The last green wire goes next to the blue one on the 'short' side.
Now we are ready to upload code to the Teensy and test out our work!

This guide was first published on Jul 29, 2012. It was last updated on Apr 17, 2024.

This page (Assemble the Gamepad) was last updated on Jun 25, 2012.

Text editor powered by tinymce.