
If you're planning to use the MAX6675/MAX31855, there's a little more work to be done. First off, Vin and GND must connect to a 3-5V supply. Then the three data pins must connect to digital IO pins:
- CLK (clock) is an input to the MAX6675/MAX31855 (output from microcontroller) which indicates when to present another bit of data
- DO (data out) is an output from the MAX6675/MAX31855 (input to the microcontroller) which carries each bit of data
- CS (chip select) is an input to the MAX6675/MAX31855 (output from the microcontroller) which tells the chip when its time to read the thermocouple and output more data.

The MAX31855 does not support grounded thermocouples - if the sensor touches ground the chip will return an error
Arduino Library
If you have an older MAX6675 breakout, download the Adafruit MAX6675 library from the Arduino library manager.
If you have the newer MAX31855 breakout, download the Adafruit MAX31855 library from the Arduino library manager.
Open up the Arduino library manager:

If you have a MAX6675 breakout, search for the MAX6675 library and install it

If you have the MAX31855 breakout, search for the Adafruit MAX31855 library and install it

Open up the File->Examples->MAX6675/Adafruit_MAX31855->serialthermocouple sketch and upload it to your Arduino. Once uploaded, open up the serial port monitor to display the current temperatures in both Celsius and Fahrenheit.
We also have a great tutorial on Arduino library installation at:
http://learn.adafruit.com/adafruit-all-about-arduino-libraries-install-use

Adding a Display
A common request is to have the temperature output onto a 'classic' character LCD such as the ones in this tutorial.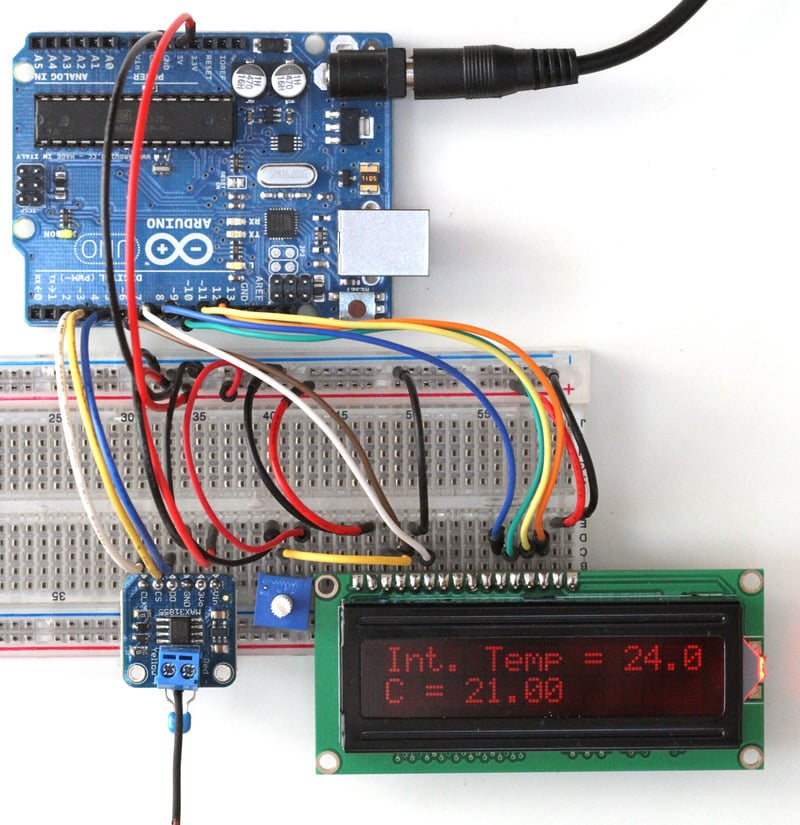
For this wiring, we connected CLK to digital 3, CS to digital 4 and DO to digital 5. Once you get it working, you can change the pin connections in the sketch
We have an example sketch for this as well. First get the LCD working by following our tutorial. Now load up the new sketch File->Examples->MAX31855>lcdthermocouple and plug in the thermocouple module as we did in the serial thermocouple test, you'll see the internal temperature and the thermocouple temperature displayed in Celsius


