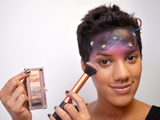
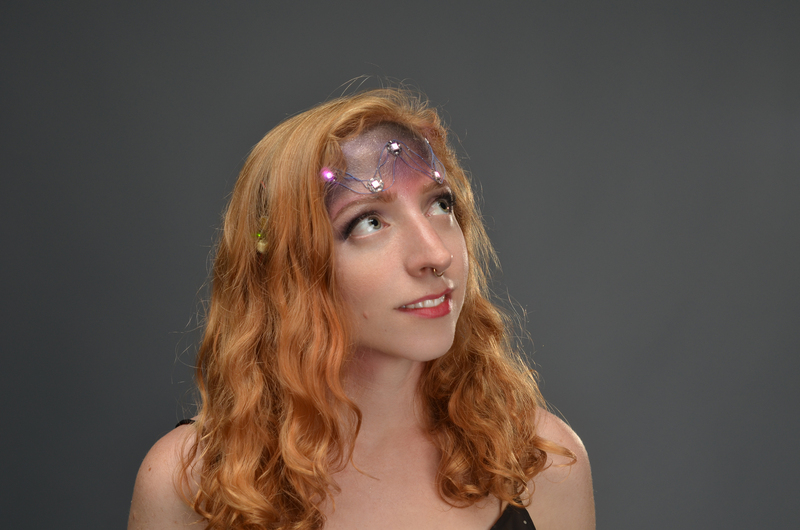
Wear some space on your face and be a constellation for Halloween! This galaxy makeup is inspired by the Cassiopeia constellation and uses five FLORA NeoPixels to light up the night sky across your forehead, affixed with liquid latex. GEMMA M0 or GEMMA v2 and a coincell battery back reside on a hair clip and run the pixels in any color you choose.
This guide will show you how to create the circuit and apply a colorful galaxy makeup effect that will be a sure hit at your party or costume parade.
This guide was written for the Gemma v2 board, but can be done with either the original or Gemma M0. We recommend the Gemma M0 as it is easier to use and is more compatible with modern computers!
Prerequisite guides:
You will need:
- The GEMMA M0 is recommended over the GEMMA v2. Either will work.
- Five FLORA NeoPixels
- Coincell battery holder and two CR2032 batteries
- Thin wire
- Wire strippers, flush snips, and tweezers
- Soldering iron and solder
- E6000 craft glue
- Liquid latex and sponge applicators
- Various colorful purple, pink, and blue eyeshadows and brushes
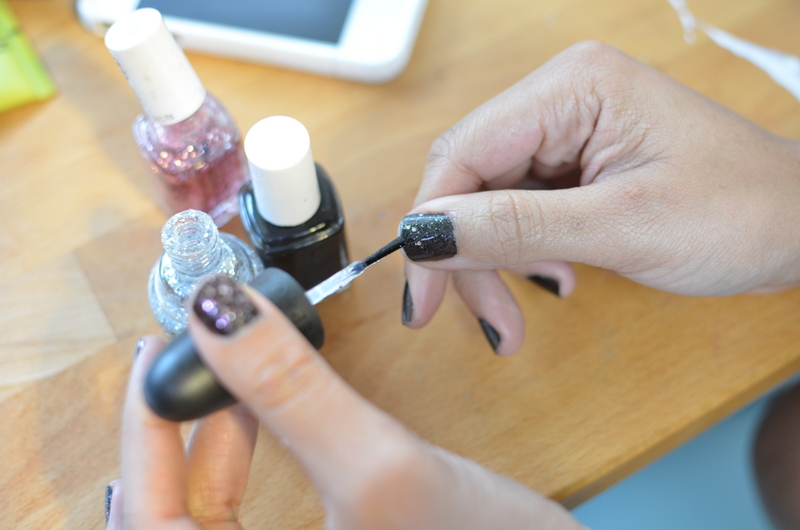
- Loose makeup glitter
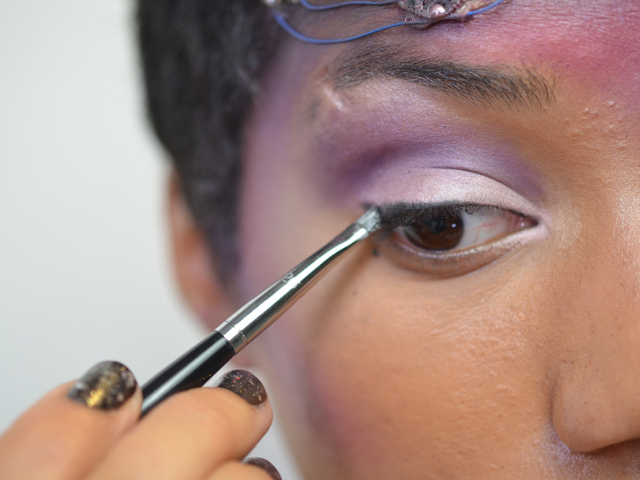
- Black eyeliner
- False eyelashes and mascara
Special thanks to Risa Rose for the makeup look and modeling!